Category: Baking

Santa’s Whiskers

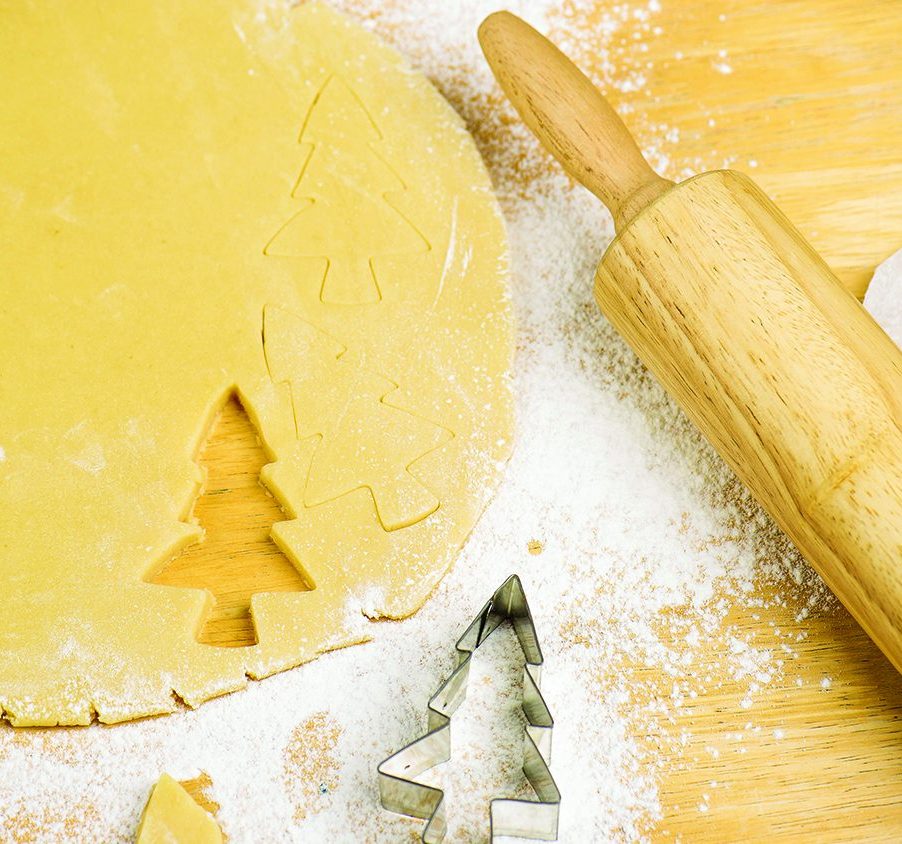
The holiday season doubles as cookie season. Indeed, there’s no shortage of baking opportunities in December. Various cookies make the rounds, and if you are tasked with bringing cookies to a function, you might be interested in something a little different.

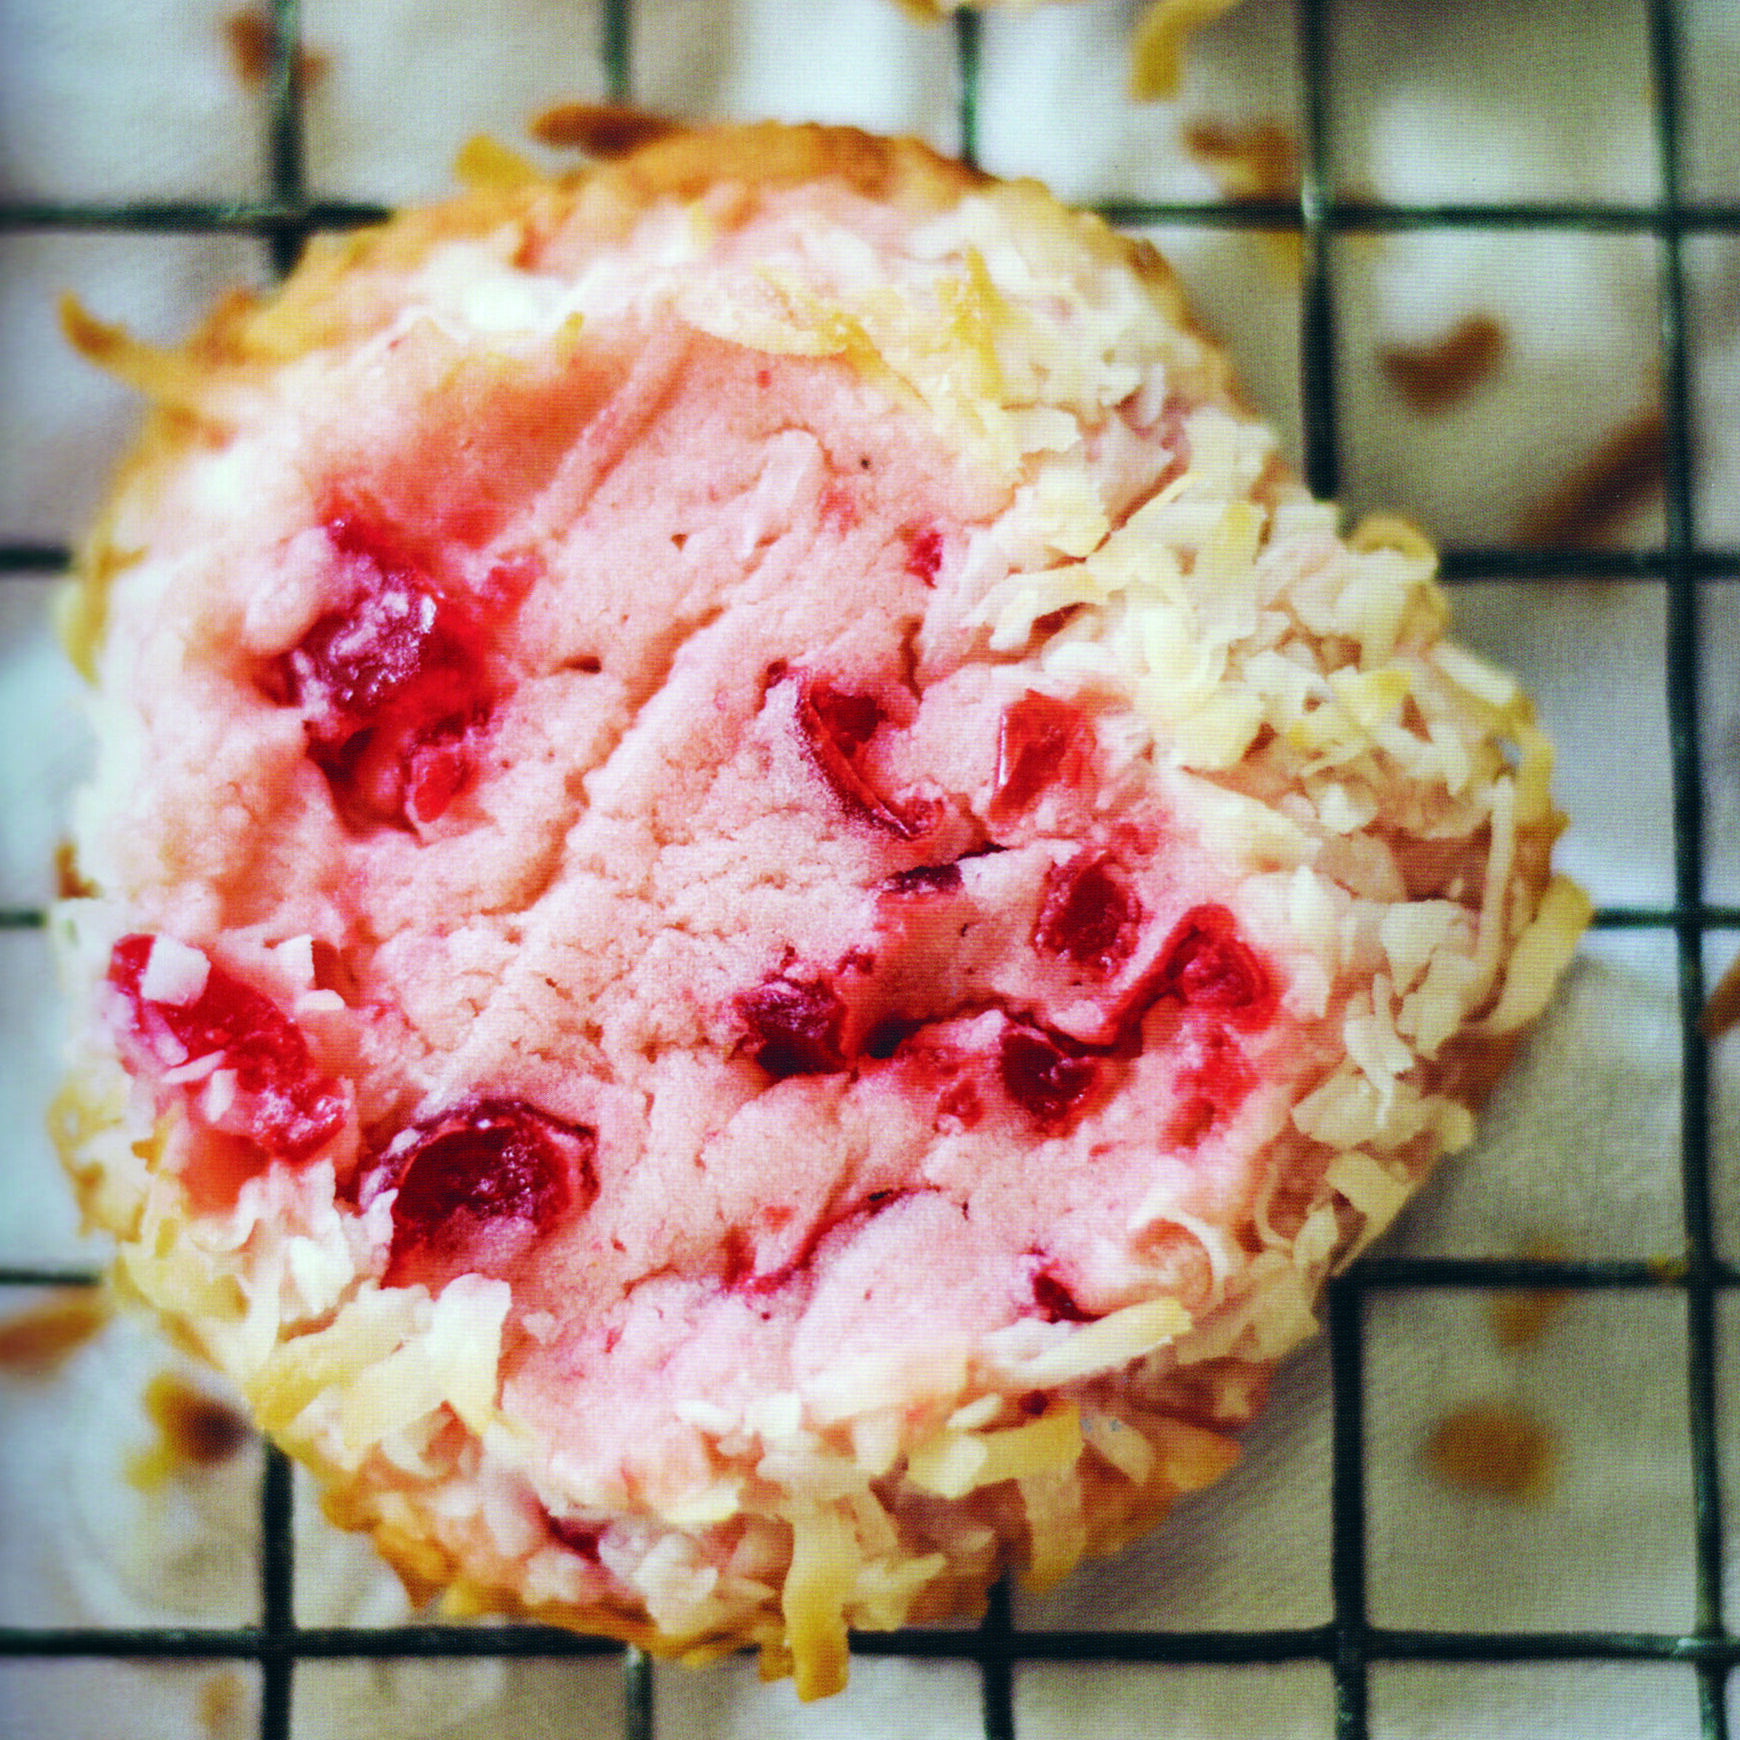
“Santa’s Whiskers” likely get their name from the coconut on these cookies, which resemble Santa’s beard. Maraschino cherries add some jolly red to the cookies as well, making them perfect for Christmas. Try this recipe from “Butter, Flour, Sugar, Joy” (Sourcebooks) by Danielle Kartes.

Santa’s Whiskers

20 to 24 cookies

1 1/2 cups confectioner’s sugar

1 cup butter, softened

1 12-ounce jar pitted maraschino cherries, strained and stemmed

1 teaspoon vanilla extract

1/2 teaspoon almond extract

1/2 teaspoon kosher salt

1 1/2 cups all-purpose flour

2 cups sweetened shredded coconut

  1.  In a stand mixer, with a hand mixer, or by hand, cream the sugar and butter until light and fluffy.
  2.  Add the cherries, vanilla, almond extract, and salt. Mix thoroughly. Fold into the flour and mix until it forms a crumbly but moist dough.
  3.  Lay a 16-inch sheet of parchment paper onto the counter. Sprinkle 1 cup of the coconut on th center in a loose rectangle, making sure it does not reach the edge of the parchment. Place the cookie dough on top, flattening a bit with your fingers, and sprinkle the remaining coconut over the top of the dough.
  4.  Form the dough into a 12- to 14-inch log, about 3 inches thick. Evenly press the coconut around the log and roll to make the log an even cylinder.
  5. Roll the parchment up with the dough inside and twist the ends. Chill for at least 2 hours or overnight.
  6. Preheat oven to 350 F. Line a baking sheet with parchment paper. Slice cookies in 1/4- to 1/2-inch rounds, place on the prepared baking sheet, about 2 inches apart, and bake 12 to 15 minutes. Allow to cool before serving. Store in an airtight container.

Fresh Peach Crumble Bars

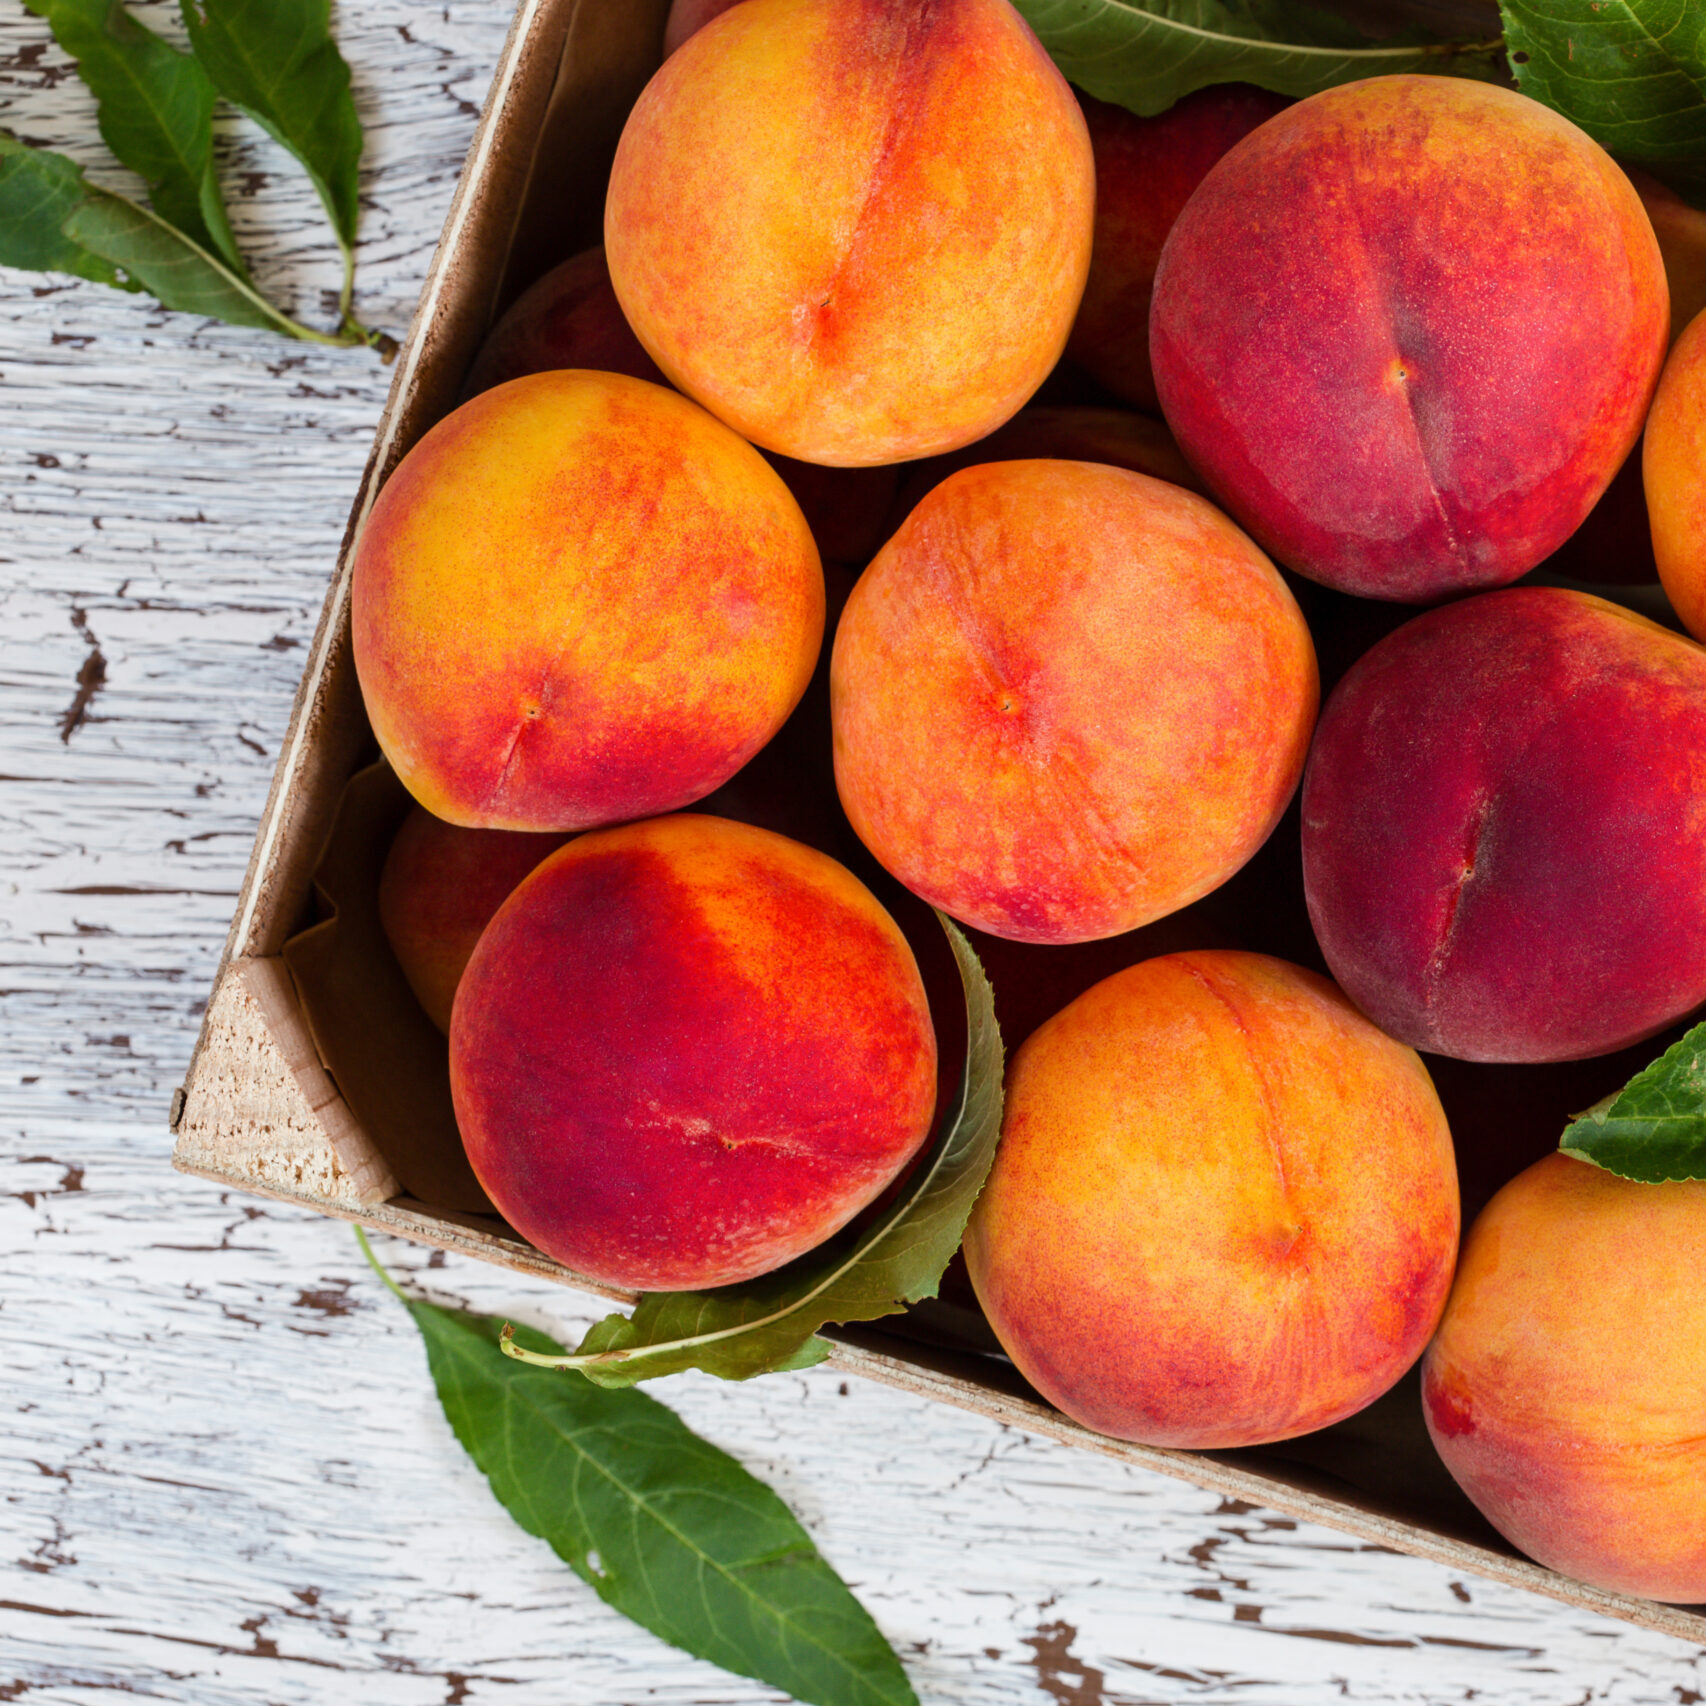
Summer is a time of year when people can enjoy their pick of fresh fruit at farm stands, supermarkets and other retailers. Many fruit trees, plants and bushes are ready for harvest in the spring and summer, meaning there’s no limit to the number of delicious recipes one can whip up with these sweet offerings.

Peaches are a favorite ingredient in many different types of desserts, from cobblers to pies. But in this recipe for “Fresh Peach Crumble Bar,” peaches are presented as a cross between a cake and cookie. Enjoy this recipe, courtesy of Saving Room for Dessert, as adapted from AllRecipes.com.

Fresh Peach Crumble Bars

Yield 20

Crust/Crumb Topping:

1 cup granulated sugar

3 cups all-purpose flour

1 teaspoon baking powder

1/2 teaspoon salt

1/4 teaspoon ground cinnamon

1 cup unsalted butter cold, cut into cubes

1 large egg, lightly beaten

Peach layer:

1/2 cup granulated sugar

1 tablespoon cornstarch

1/4 teaspoon ground cinnamon

5 large peaches, peeled and diced

1 teaspoon fresh lemon juice

Icing:

1 cup powdered sugar

1/4 teaspoon almond extract

1 tablespoon milk (more or less for desired consistency)

Directions:

1. Preheat oven to 350 F if using a glass pan or dark metal pan, or 375 F for a light metal pan. Lightly grease or spray a 13 x 9-inch baking pan and set aside.

2. In a medium bowl, whisk together 1 cup of sugar, 3 cups of flour, baking powder, salt and cinnamon. Using a pastry cutter, blend in the butter until the mixture resembles coarse sand. Add the lightly beaten egg and mix until the dough starts to hold together, but is still crumbly. Gently press a little more than half the dough into the prepared pan. (Optional: Use a food processor to process these ingredients.)

3. In a large mixing bowl, whisk together the sugar, cornstarch and cinnamon. Add the diced peaches and toss to combine. Drizzle the lemon juice over the peaches and toss to coat. Pour the peach mixture over the crust and spread evenly.

4. Using your hands, press together handfuls of the remaining crumb topping to create clumps. Scatter the clumps and remaining crumbled topping over the fruit layer, leaving some peaches showing through.

5. If using a glass pan, bake at 350 F for 50 to 55 minutes or until lightly browned. If using a metal pan, bake at 375 F for 40 to 45 minutes. Cool completely, then chill before cutting and icing.

6. Whisk together the powdered sugar, almond extract and milk. Drizzle on the bars just before serving.

Blueberry Apple Pie

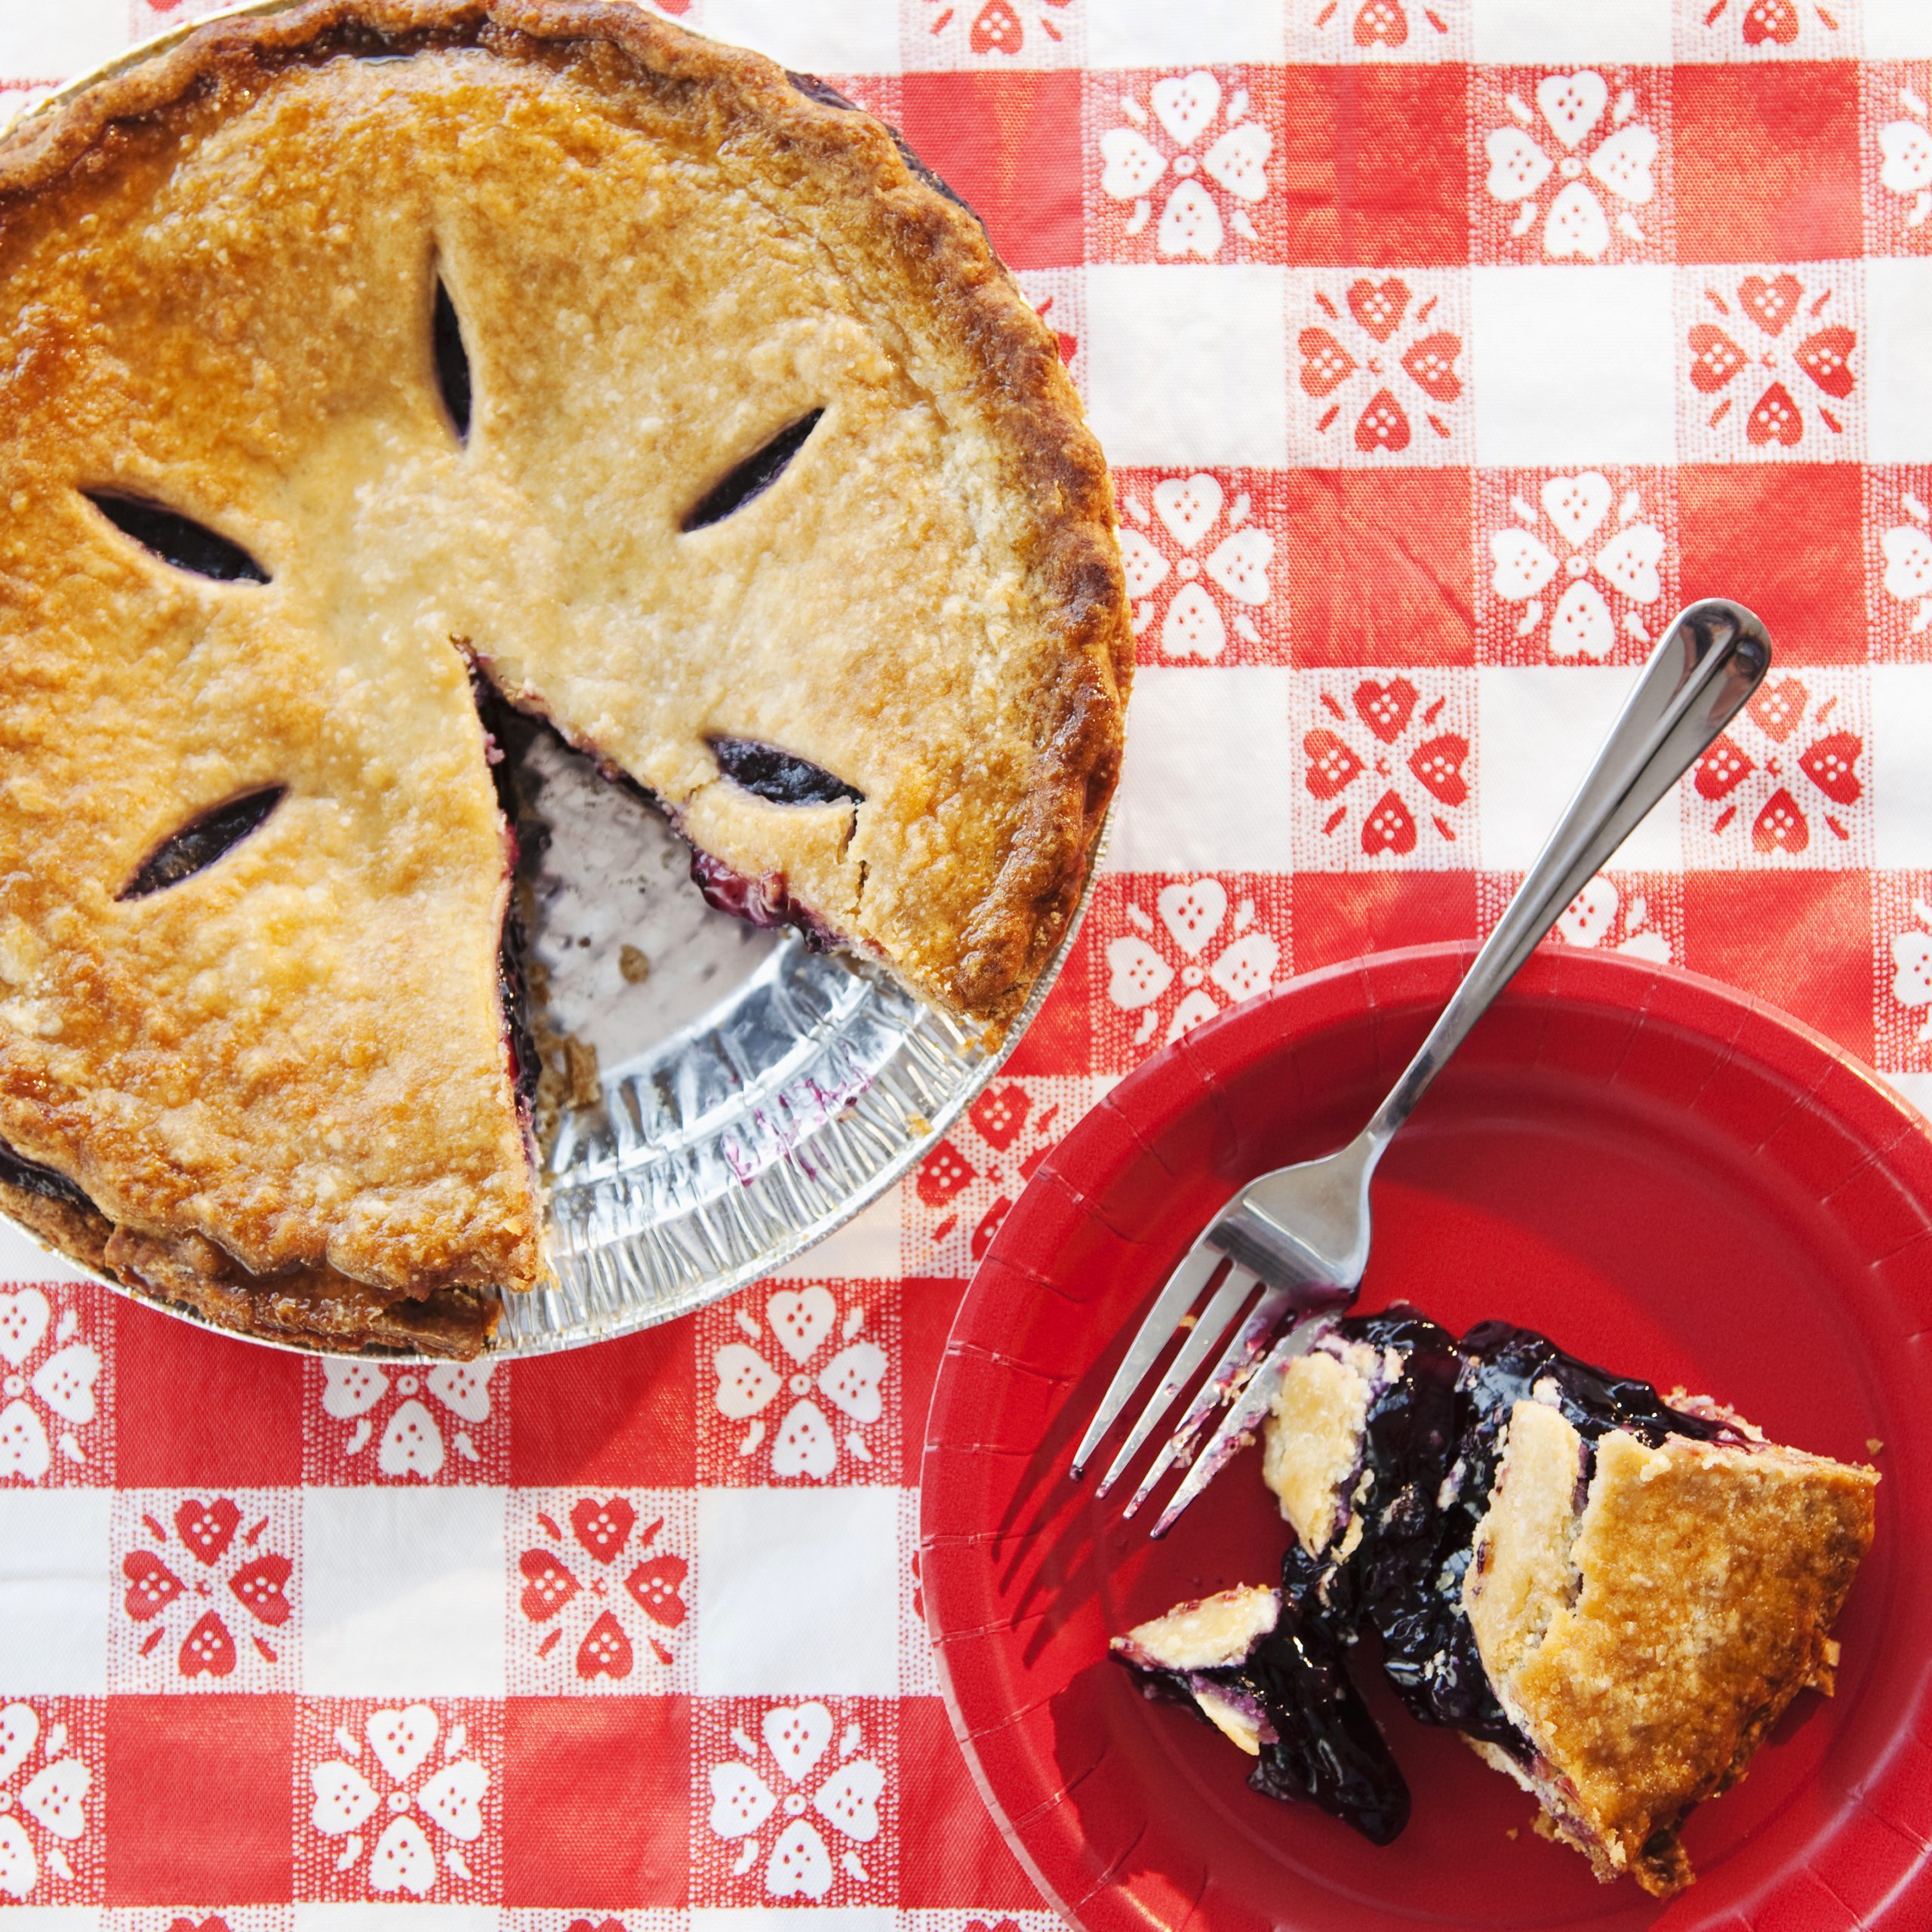
Pie is delicious any time of year, but especially when seasonal fruits are included in the recipe. When the weather cools down, mouthwatering apples are in season, making this an ideal time to enjoy some apple pie. Home chefs can use Peggy Brusseau’s, author of “The Contented Vegan” (Head of Zeus), recipe for “Blueberry Apple Pie” to create their own delicious dessert. This recipe is designed for those who adhere to a vegan diet, but bakers can substitute a traditional pie crust if desired.

Blueberry Apple Pie

Makes 1 large pie

Ingredients:

1 quantity Vegan Shortcrust Pastry (see below)

2 medium apples

2 1/4 pounds fresh blueberries

1/4 cup granulated sugar

2 tablespoons all-purpose flour

(Alternative: Use 1 tablespoon oat bran instead of the flour)

Directions:

1. Preheat the oven to 350 F. Line an 11 1/4 inch pie dish with half of the pastry, and prepare the top crust.

2. Peel, core and slice the apples. Spread the apple slices over the bottom of the pastry base. Tip the blueberries into the pie dish, and spread evenly to cover the apples.

3. Mix together the sugar and flour in a small bowl, and sprinkle the mixture evenly over the berries.

4. Position the prepared top crust over the pie, seal together the edges of the pastry and pierce the top crust with a fork or knife.

5. Bake for 25 to 30 minutes until the pastry is golden and crisp. Cool and serve.

Vegan Shortcrust Pastry

Makes top and bottom pie crust

Ingredients:

1 cup all-purpose flour, plus extra for dusting

2 3/4 ounces coconut oil

1/3 cup fine cornmeal

Directions:

1. Measure the flour into a large bowl. Add the coconut oil and ‘cut’ it into the flour, using a fork or table knife, to create an even texture throughout. Add the cornmeal, working it in the same way to create an even texture.

2. Add 1/2 cup ice cold water, and quickly work it into the dough with your fingertips. Shape the dough into a ball, cover the bowl and chill in the refrigerator for at least 1 hour, and up to 24 hours.

3. Remove the pastry from the refrigerator 20 to 30 minutes before use, and bring to room temperature. Lightly flour your work surface and a rolling pin. Keep a little extra flour to one side, to use as needed.

4. Divide the dough in two, and knead one portion on the work surface to ensure an even consistency. Roll out the pastry into a round or rectangle, as required, to a thickness of 1/4 inch.

5. Lift the pastry into the pie dish and press into place, trimming off any excess. Roll the remaining pastry in the same way, to make the top crust, or to line a second pie dish.

Fourth of July Cookie Cups

July 4th celebrations are much anticipated each year. Whether they include an intimate barbecue with a close-knit group of friends or a massive block party with everyone from the neighborhood, there’s a strong chance that food will be part of the party.

As various menu items will hit the grill, hosts and hostesses may wonder which desserts to serve to make their events complete. While there is seemingly nothing more American than apple pie, cookies also can be sweet ways to help wrap up the festivities. Sugar cookies are a universal favorite, and in this recipe for “Fourth of July Cookie Cups” they’re shaped into cups filled with a buttercream frosting.

Enjoy this star-spangled showcase, courtesy of “Live Well, Bake Cookies” (Rock Point) by Danielle Rye.

Fourth of July Cookie Cups

Makes 24

Nonstick cooking spray, for greasing the pan

1 1/2 cups all-purpose flour, spooned and leveled

1 teaspoon cornstarch

1/2 teaspoon baking powder

1/4 teaspoon salt

1/2 cup (1 stick) unsalted butter, softened

3/4 cup granulated sugar

1 large egg, at room temperature

1 teaspoon vanilla extract

Red, white and blue sprinkles, for topping

Vanilla Buttercream Frosting

1/2 cup (1 stick) unsalted butter, softened

1 1/2 cups powdered sugar

1 tablespoon heavy whipping cream or milk

1 teaspoon pure vanilla extract

1. To make the cookie cups: preheat the oven to 350 F. Spray a 24-count mini muffin pan with nonstick cooking spray and set aside.

2. In a large mixing bowl, whisk together the flour, cornstarch, baking powder, and salt. Set aside.

3. In the bowl of a stand mixer fitted with the paddle attachment or in a large mixing bowl using a handheld mixer, beat the butter and granulated sugar together for 1 to 2 minutes, or until well combined.

4. Mix in the egg and vanilla extract until fully combined, making sure to stop and scrape down the sides of the bowl as needed.

5. Mix in the dry ingredients until just combined.

6. Evenly distribute the cookie dough among all 24 cups in the mini muffin pan, a little more than 1 tablespoon of cookie dough per cup. Press each ball of cookie dough into the cups and smooth it out.

7. Bake for 11 to 13 minutes, or until the edges of the cookie cups are lightly browned and the tops are set.

8. Remove from the oven, and make an indentation in each cookie using the back of a measuring spoon. Allow to cool in the muffin pan, then carefully remove from the pan and set aside.

9. To make the vanilla buttercream frosting: In the bowl of a stand mixer fitted with the paddle attachment or in a large mixing bowl using a handheld mixer, beat the butter for 1 to 2 minutes until smooth. Add the powdered sugar, 1/2 cup at a time, mixing in each addition until well combined.

10. Add the heavy whipping cream and vanilla extract, and continue mixing until fully combined, stopping to scrape down the sides of the bowl as needed. Pipe the frosting into the cooled cookie cups and top with the sprinkles.

12. Store the cookie cups in an airtight container at room temperature or in the refrigerator for up to 4 days.

Chocolate Cookies Are A Sweet Finale To Thanksgiving Dinners

Holiday entertaining season begins on Thanksgiving. Anyone who has been tasked with hosting Thanksgiving understands the commitment required to prepare a delicious meal for guests, which often encompasses appetizers, several side dishes and, of course, turkey as the centerpiece. Guests attending a Thanksgiving dinner can give holiday hosts and hostesses a break by providing dessert.

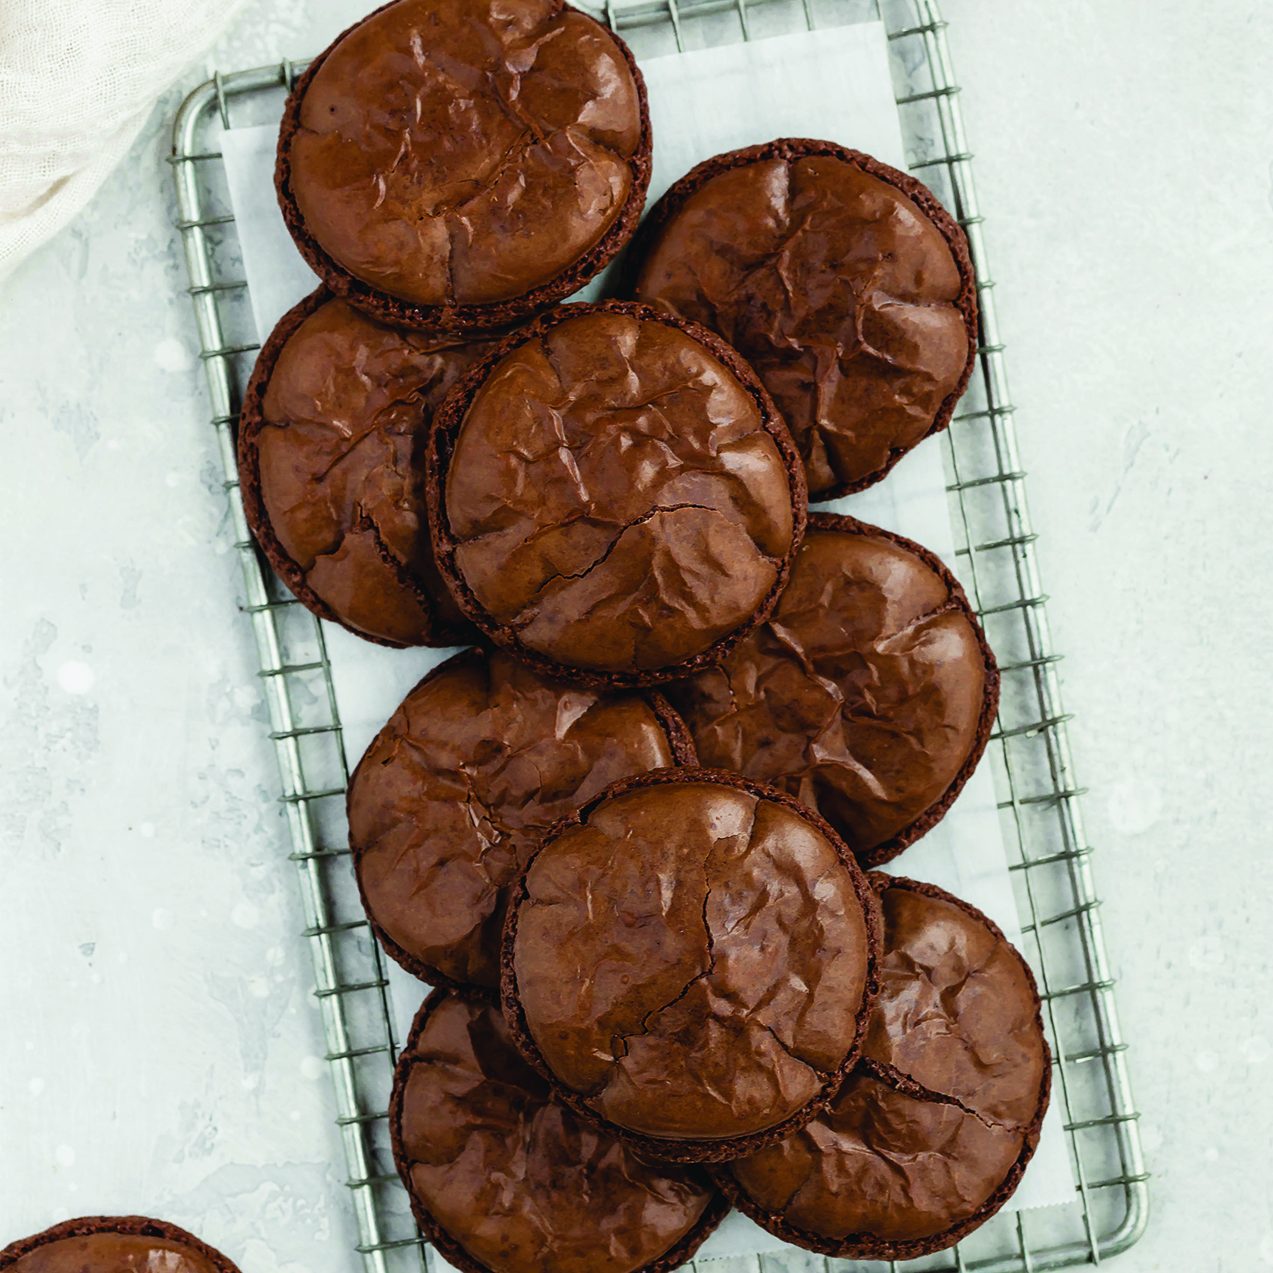
Cookies are a popular treat. Thanks to their flavor, portability and relatively short preparation and cooking times, cookies are a smart choice when bringing dessert to a holiday gathering. This recipe for “Flourless Chocolate Cookies” from Danielle Rye’s “Live Well Bake Cookies: 75 Classic Cookie Recipes for Every Occasion” (Rock Point) offers the added benefit of being flourless. That means that even those with gluten allergies or intolerances can indulge.

Flourless Chocolate Cookies

Makes 24 to 36 cookies

3 cups powdered sugar

3/4 natural unsweetened cocoa powder

1/2 teaspoon espresso powder (optional)

1/4 teaspoon salt

2 large egg whites, at room temperature

1 large egg, at room temperature

1 1/2 teaspoons pure vanilla extract

  1. Preheat the oven to 350 F. Line two large baking sheets with parchment paper or silicone baking mats and set aside.
  2. In a large mixing bowl, sift the powdered sugar and unsweetened cocoa powder together, then whisk in the instant espresso powder (if using) and salt until well combined. Set aside.
  3. In a separate mixing bowl, whisk together the egg whites, egg, and vanilla extract until fully combined.
  4. Add the wet ingredients to the dry ingredients, and stir until the mixture is fully combined and smooth.
  5. Using a 1-tablespoon cookie scoop, scoop the cookie dough onto the prepared baking sheets, making sure to leave a little room between each one.
  6. Bake for 11 to 14 minutes, or until the tops of the cookies are set. Remove from the oven, and allow the cookies to cool completely on the baking sheets.

Store the cookies in an airtight container at room temperature for up to 5 days.

Cheesecake Makes a Decadent Valentine’s Day Treat

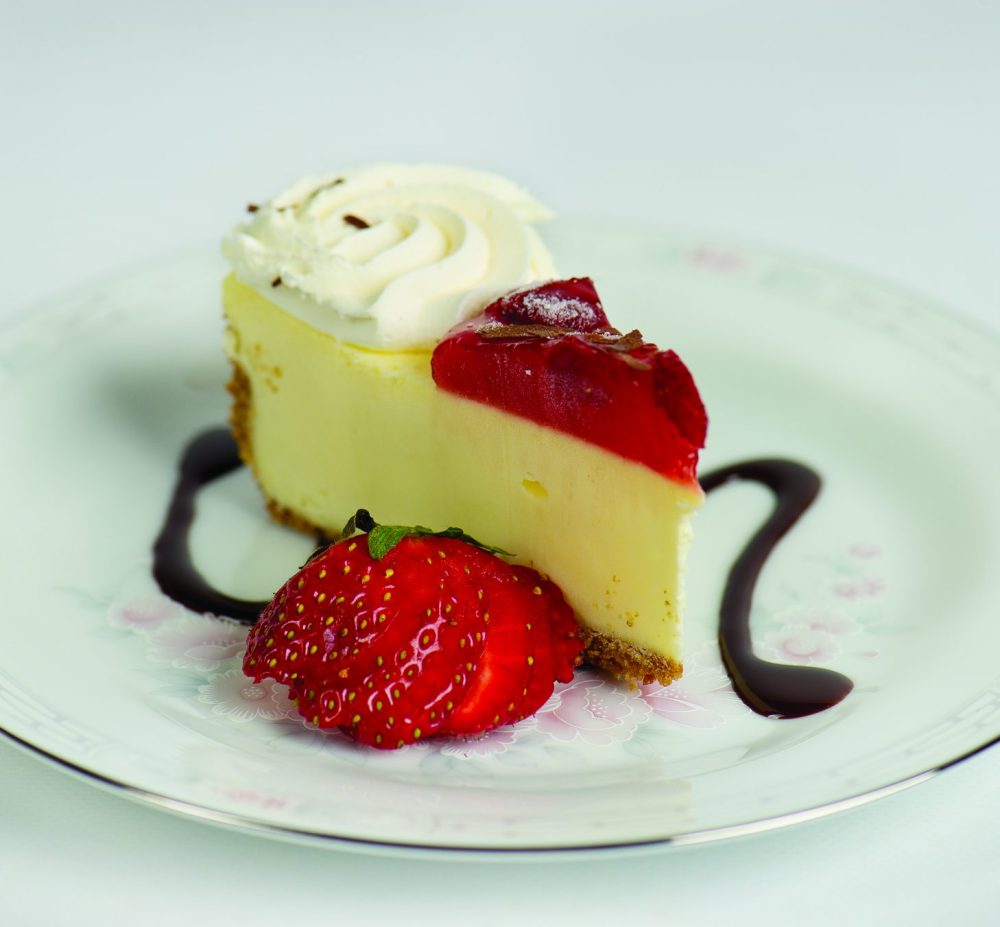
A cheesecake recipe can be useful on any special occasion, and especially so on Valentine’s Day. For many people, cheesecake is not cheesecake without the addition of ricotta cheese. While ricotta is included in savory dishes like lasagna or manicotti, it is at home in desserts like cheesecake as well. Ricotta means “recooked” in Italian, and its production involves reheating the whey left over from making other cheeses, like mozzarella. Its texture is like a creamy/grainy, thick sour cream.

Ricotta is included in this recipe for “Ricotta Cheesecake With Coffee and Chocolate” from “Nick Stellino’s Family Kitchen” (G.P. Putnam’s Sons) by Nick Stellino, but it is not the only flavorful ingredient in this decadent dish. Coffee liqueur, chocolate and lemon zest add to the complex profile — which only get more pronounced if you prepare this cake a day in advance.

Ricotta Cheesecake With Coffee and Chocolate (Tortino al caffè e ciccolato)

Serves 8 to 10

1 cup graham cracker crumbs

2 tablespoons butter, melted

2 tablespoons sugar, plus 1⁄2 cup sugar

2 lbs. ricotta cheese, drained of excess liquid

8 eggs, separated

1/2 cup cream

1/4 cup espresso or extra strong coffee, cooled

1/4 cup coffee liqueur

1 teaspoon finely grated lemon zest

1/2 teaspoon salt

1 cup semi-sweet chocolate morsels

Preheat the oven to 325 F. Make a graham cracker crust by mixing together the melted butter with the crumbs, and sugar. Press into the bottom of a 9-inch springform pan. Mix together the ricotta, sugar, egg yolks, cream, espresso, coffee liqueur, lemon zest, and salt until creamy. In a separate bowl, beat the egg whites until they form stiff peaks. Carefully fold the egg whites into the ricotta mixture. Stir in the chocolate morsels and pour onto the prepared crumb crust.

Bake the cake for 1 hour and 15 minutes or until just set in the middle. The cake will still seem wobbly, but will be lightly browned and cracked around the edges. Remove the cake from the oven and cool on a rack for 30 minutes. Refrigerate the cheesecake for at least 6 hours or overnight before running a sharp knife along the edge of the cake and removing the pan. Cut into wedges to serve. Garnish with shaved chocolate and strawberries, if desired.

Tips for Baking Better Christmas Cookies

Cookies and other baked treats are everywhere come the holiday season. It’s not uncommon to give cookies as gifts or arrive at holiday gatherings with cakes and other decadent desserts. Cookies are a classic holiday treat, and some families even build entire traditions around baking Christmas cookies.

Novice bakers making cookies for the first time may be a little overwhelmed when perusing recipes. Baking is a science, and sometimes it takes practice to get the results just right. However, there are some tips that can help yield better, buttery bounties.

Handle butter with care

Butter can make or break a cookie recipe, as butter is often the glue that holds the cookie together. Therefore, it is key to follow the directions carefully regarding how to handle butter. Smithsonian.com says to leave butter at room temperature for 30 to 60 minutes to properly soften it. This takes patience, but fiddling with butter too much can damage its delectable integrity. While purists may say butter is best, margarine may be acceptable if it has a high fat content; otherwise, cookies may spread out and flatten. When it comes time to cream the butter with sugar, be sure to do so thoroughly to incorporate air into the butter and remove the grainy texture of the sugar.

Measure flour properly

Measuring flour the right way can ensure cookies come out right. The Cooking Channel says to spoon the flour lightly into a dry measuring cup, then level it off with a knife. Do not dip the measuring cup into the flour or tap the knife against the cup. This will pack too much flour into the measuring cup and result in dry, tough cookies.

Slow down the eggs

Add eggs one at a time to make sure each will emulsify properly with the fat in the butter. Adding eggs en masse may cause the emulsification to fail.

Chill out

Follow recipes that call for chilling cookie dough carefully. This process is important for making sliced and shaped cookies. By chilling, the dough becomes more malleable for rolling and even slicing.

Use a bottom rack

Too much heat may compromise cookie integrity. The food experts at Delish say to try moving cookies onto a lower rack in the oven if they aren’t retaining their shape when baked. Put an empty cookie sheet on the top rack. That will block the cookies from the most intense heat that rises to the top of the oven.

Mastering cookies takes a little patience and some trial and error. Once bakers get their feet wet, Christmas-cookie-baking becomes even more special.

Thanksgiving Quiche Puts Sweet Potatoes Front and Center

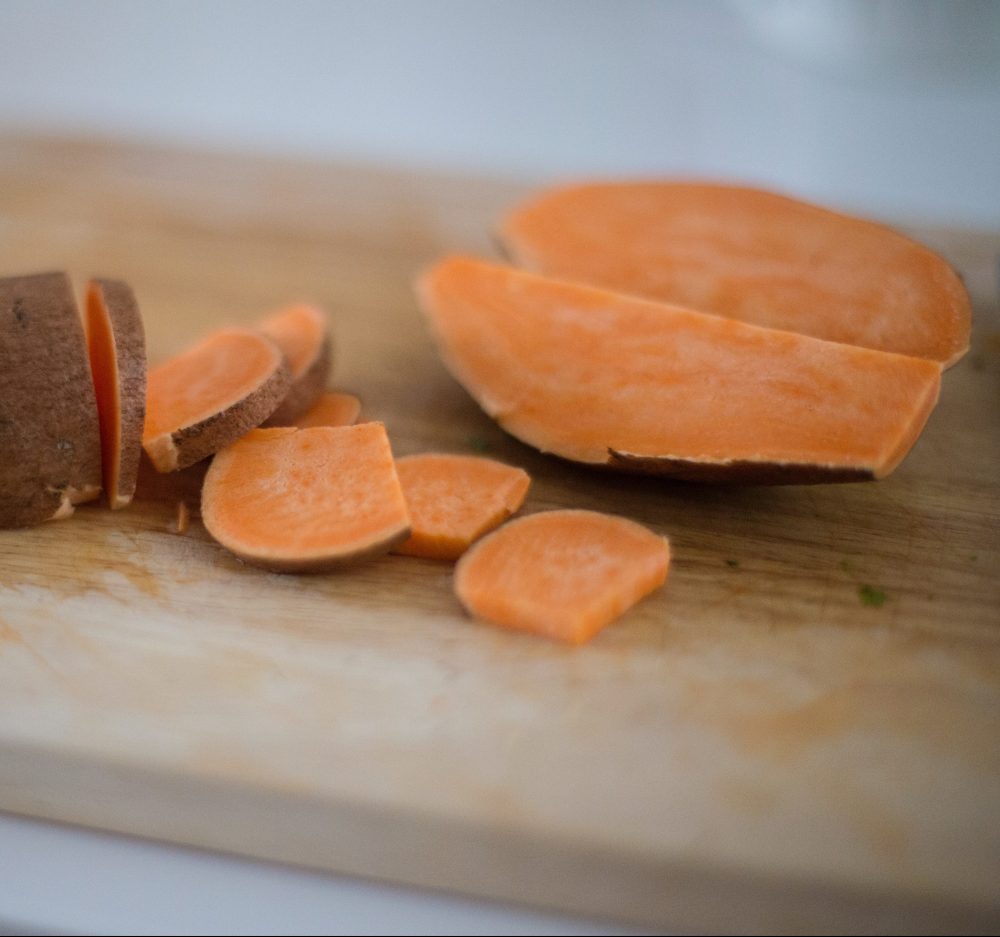
Sweet potatoes are a favorite side dish at Thanksgiving dinner tables. Packed with vitamins, nutrients, fiber, and delectable flavor, sweet potatoes have earned their place on holiday dinner tables. While many holiday hosts bake, fry or mash their sweet potatoes, these beloved tubers can be prepared in other ways as well.

If you want to put a new twist on this Thanksgiving staple, whip up this recipe for “Sweet Potato Quiche,” courtesy of the North Carolina Sweet Potato Commission. Submitted to the NC State Fair Tailgate Recipe Contest by Kristen Frybort, this recipe marries sweet tubers with decadent cheese, rich cream and savory spices.


Sweet Potato Quiche

Makes 8 servings

2 cups sweet potatoes, peeled and diced into small cubes

3⁄4 cup yellow onion, diced

21⁄2 tablespoons olive oil

1⁄2 teaspoon salt

Black pepper to taste

Egg mixture:

4 eggs

1 cup heavy cream

1⁄2 teaspoon fresh rosemary, minced

1⁄2 tablespoon fresh parsley, minced

11⁄2 teaspoons salt

1⁄4 teaspoon pepper

3 ounces Gruyere cheese, shredded

Pre-baked deep dish pie crust

Preheat oven to 400 F. Mix together the first five ingredients and place on baking sheet. Roast in the oven for 15 to 20 minutes. While sweet potatoes and onions are roasting, shred cheese and set aside. Whisk the egg mixture and set aside. Once potatoes and onions have finished roasting, spoon them into the pre-baked pie shell. Next, layer the shredded cheese on top of the sweet potatoes. Reduce oven to 375 F. Pour egg mixture over the cheese and potatoes. Place quiche in the oven on a center rack. Bake 20 to 25 minutes, or until eggs are set.

A Spiced Dessert for Halloween Parties

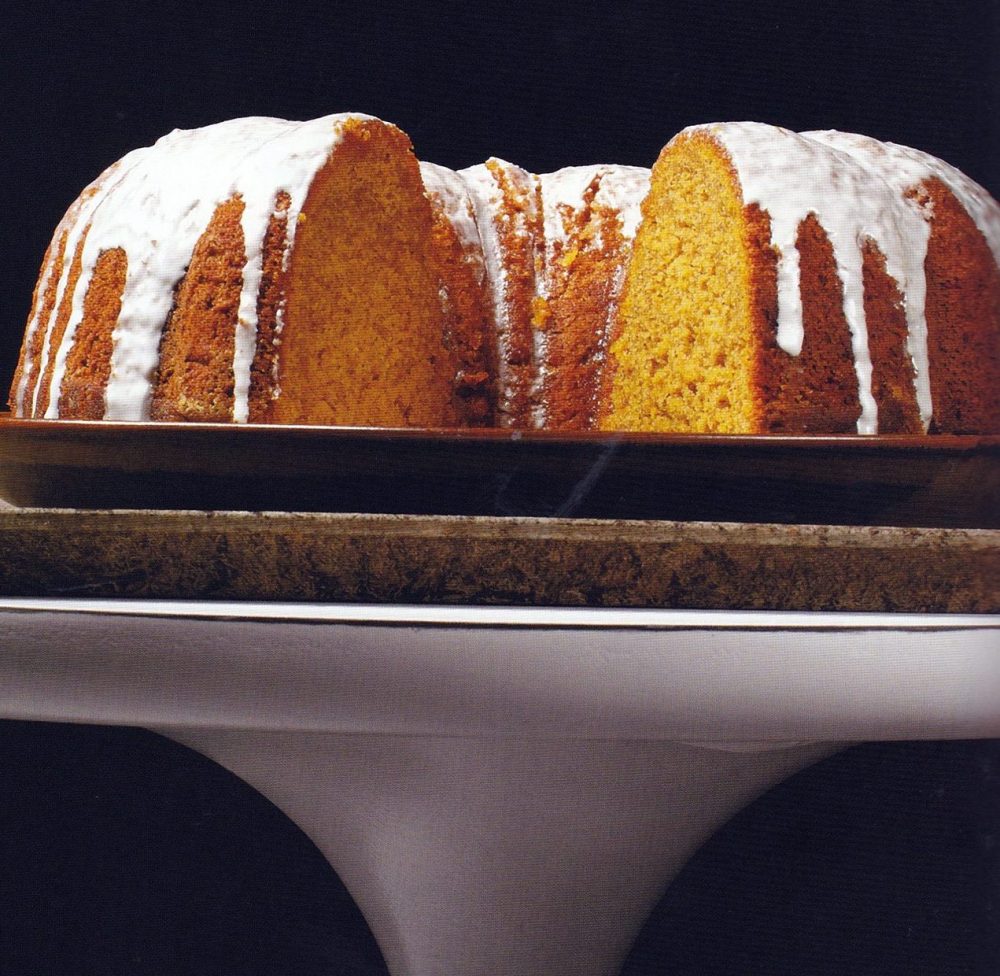
Halloween party hosts may want to have a variety of treats on hand to satisfy the assortment of sweet tooths in attendance. Candy might be the first thing people think of on Halloween, but cakes and cookies can make for delicious treats as well. Borrowing from the flavors of the season, including pumpkin, cinnamon and nutmeg, “Spiced Pumpkin Cake” from “Real Simple: Easy, Delicious Home Cooking (Time Home Entertainment)” from the editors of Real Simple can be a welcome addition to any Halloween spread.

Spice Pumpkin Cake (Serves 12)

1 cup (2 sticks) unsalted butter, at room temperature, plus more for the pan

3 cups all-purpose flour, spooned and leveled, plus more for the pan

5 teaspoons pumpkin pie spice

11⁄2 teaspoons baking powder

3⁄4 teaspoon baking soda

1⁄2 teaspoon kosher salt

11⁄2 cups granulated sugar

3 large eggs

1 15-ounce can pumpkin puree

1⁄2 cup whole milk

1⁄4 cup molasses

11⁄4 cups confectioners’ sugar

2 tablespoons fresh lemon juice

Heat oven to 350 F. Butter and flour a 12-cup bundt pan.

In a large bowl, whisk together the flour, pumpkin pie spice, baking powder, baking soda, and salt.

Using an electric mixer, beat the butter and granulated sugar on medium-high heat until fluffy, 2 to 3 minutes. One at a time, beat in the eggs. Beat in the pumpkin puree, milk, and molasses (the mixture may appear curdled). Reduce the mixer speed to low; gradually add the flour mixture and mix until just combined (do not overmix). Pour the batter into the prepared pan and bake until a toothpick inserted in the center comes out clean, 55 to 65 minutes. Let cool in the pan for 30 minutes, then invert onto a wire rack to cool completely. In a small bowl, whisk together the confectioners’ sugar and lemon juice until smooth. Drizzle over the cake. Let set before serving.

Tip: This cake can be baked and glazed up to one day in advance. Store, covered at room temperature.

A Quick and Delicious Holiday Dessert

The holiday season is synonymous with many things, including delicious foods. While Thanksgiving turkeys or Christmas geese will be found on many a table this holiday season, baked goods and desserts are what many people look forward to this time of year.

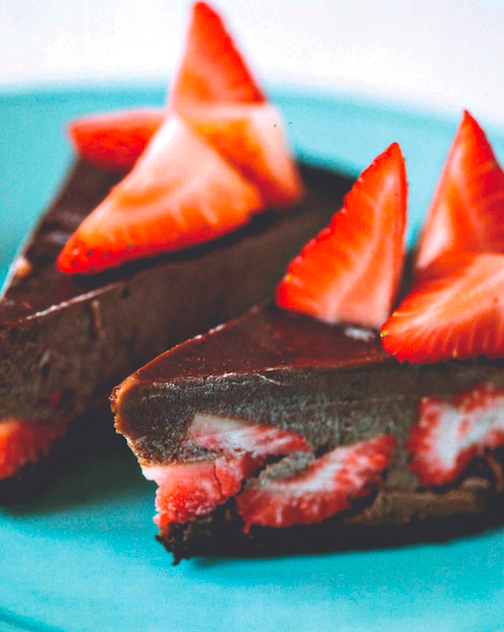
Holiday hosts with a lot on their plates might not have the time to prepare homemade baked goods for their guests. Thankfully, the following recipe for “Chocolate-Strawberry Pie” from Addie Gundry’s “No-Bake Desserts” (St. Martin’s Press) can be prepared in just 15 minutes, all without turning on the oven.

Chocolate-Strawberry Pie

Yields 1 pie

1 pint fresh strawberries, washed, trimmed and halved
1 store-bought (or homemade) chocolate cookie pie crust
2/3 cup sugar
1/4 cup cornstarch
2 tablespoons unsweetened cocoa powder
1/4 teaspoon minced crystallized ginger
1/8 teaspoon ground nutmeg
Pinch of kosher or sea salt
6 large egg yolks
21/2 cups half-and-half
6 ounces bittersweet or semisweet chocolate, chopped
1/2 tablespoon rum extract
1 teaspoon vanilla extract
Additional strawberries for garnish (optional)

1. Place the strawberry halves in a single layer in the bottom of the pie crust.
2. In a medium saucepan, whisk together the sugar, cornstarch, cocoa powder, ginger, nutmeg, and salt over medium heat.
3. Whisk in the egg yolks to create a thick paste. Gradually whisk in the half-and-half until the mixture thickens, about 5 minutes. Bring to a boil and cook for 1 minute. Remove from the heat.
4. Add the chocolate and whisk until combined. Add the rum and vanilla extracts. Cool the mixture for 4 minutes.
5. Pour the filling over the strawberries and up to the top of the crust. Chill the pie for 2 hours or until set.
6. Garnish with additional strawberries, if desired.