Tag: food

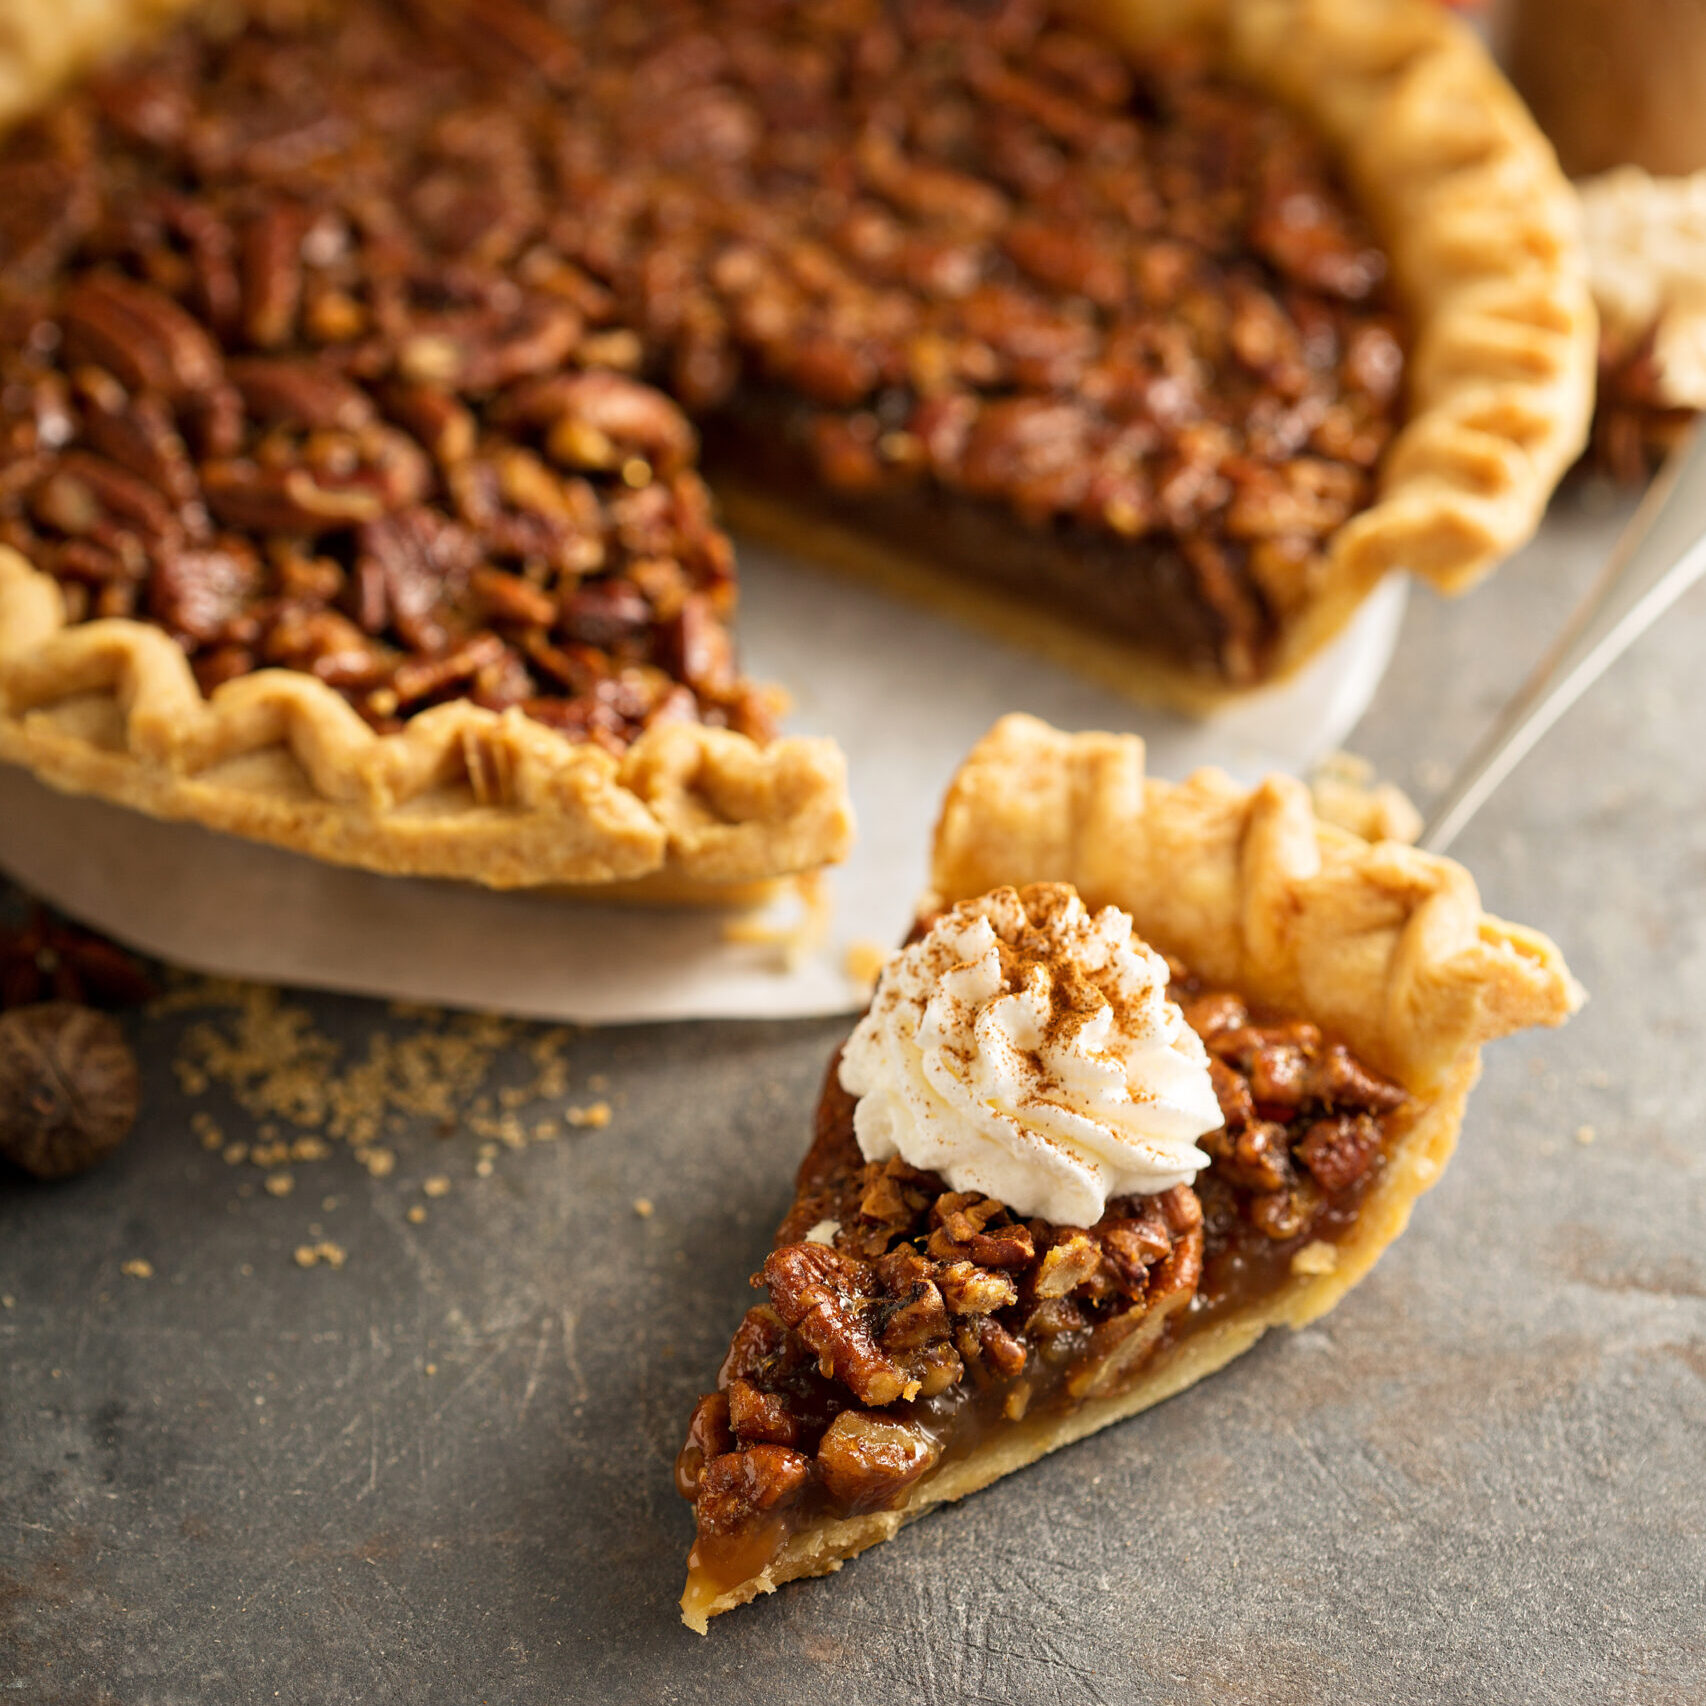
Pecan Pie

A Thanksgiving dinner table can be a sight to behold. For foodies and others who love the array of comfort foods on display comes the fourth Thursday in November, Thanksgiving is a day to circle on the calendar each year.

While a mouthwatering turkey and sides like mashed potatoes and stuffing garner the bulk of the attention on Thanksgiving, the dessert table also can be a tempting place to direct one’s eyes. Though no dessert is off limits on Thanksgiving, pie is a particularly popular option on Turkey Day. With that in mind, those tasked with crafting something for dessert this Thanksgiving can consider the following recipe for “Pecan Pie” courtesy of Lines+Angles.

Pecan Pie

Makes 8 servings

1 9-inch unbaked frozen deep dish pie shell, thawed

11/2 cups pecans, coarsely chopped

3 eggs, lightly beaten

1 cup light corn syrup

1/2 cup brown sugar

1 tablespoon molasses

2 tablespoons butter, melted

2 tablespoons flour

1/4 teaspoon salt

1 teaspoon pure vanilla extract

1. Preheat oven to 350 F.

2. Spread pecans along the bottom of the prepared pie shell.

3. In a large bowl, mix the remaining ingredients and pour over pecans. The pecans will rise to the surface of the pie.

4. Bake for 60 to 65 minutes until the filling has set. Pie is done when the center reaches 200 F. Pie center when lightly tapped should spring back. Remove pie from oven and let cool on a wire rack for at least 2 hours.

5. Serve.

Preparation time: 15 minutes

Cooking time: 1 hour, 5 minutes

Cooling time: 2 hours

Total time: 3 hours, 20 minutes

Stuffed Loin of Pork

Cinco de Mayo is a festive occasion that celebrates Mexican culture and food. Cinco de Mayo commemorates a minor Mexican victory over France that took place on May 5, 1862 at the Battle of Puebla. While it has never been a big deal in Mexico – especially in comparison to celebrations of Mexico’s independence – Cinco de Mayo has become a festive phenomenon north of the border.

When it comes to food and beverage, many people see Cinco de Mayo as an excuse to indulge in a few margaritas and dine on tacos. Those who prefer more authentic fare may want to explore further. Pork loin is a quintessential Mexican dish. It can be prepared in many ways with rich spices. This recipe for “Stuffed Loin of Pork” from “The Complete Mexican, South American & Caribbean Cookbook” (Metro Books) by Jane Milton, Jenni Fleetwood and Marina Filippelli, is stuffed with a ground pork mixture to make it even more savory.

Stuffed Loin of Pork

Serves 6

3 to 31/2 pounds boneless pork loin, butterflied and ready for stuffing

For the stuffing

1/3 cup raisins

1/2 cup dry white wine

1 tablespoon vegetable oil

1 onion, sliced

2 garlic cloves, crushed

1/2 teaspoon ground cloves

1 teaspoon ground cinnamon

11/4 pounds ground pork

2/3 cup vegetable stock

2 tomatoes

1/2 cup chopped almonds

1/2 teaspoon each salt and ground black pepper

1. Make the stuffing. Put the raisins and wine in a bowl. Set aside. Heat the oil in a large pan, add the onion and garlic, and cook for 5 minutes over low heat.

2. Add the cloves and cinnamon, then the pork. Cook, stirring, until the pork has browned. Add the stock. Simmer, stirring frequently, for 20 minutes.

3. While the pork is simmering, peel the tomatoes. Cut a cross in the bottom of each tomato, then put them both in a heatproof bowl. Pour in boiling water to cover. Leave the tomatoes in this water for 3 minutes, then lift them out on a slotted spoon and plunge them into a bowl of cold water. Drain. The skins will have begun to peel back from the crosses.

4. Remove the skins completely, then chop the flesh.

5. Stir the tomatoes and almonds into the pork mixture, add the raisins and wine. Cook until the mixture is reduced to a thick sauce. Let cool.

6. Preheat the oven to 350 F. Open out the pork loin and trim it neatly. Season the pork stuffing with salt and pepper to taste. Spread on the surface of the meat in a neat layer, taking it right to the edges and keeping it as even as possible.

7. Roll up the pork loin carefully and tie it at intervals with kitchen string. Weigh the pork and calculate the cooking time at 30 minutes per pound, plus another 30 minutes.

8. Put the stuffed pork loin in a roasting pan, season with salt and pepper, and roast for the calculated time. When the loin is cooked, transfer it to a meat platter, place a tent of aluminum foil over it, and let it stand for 10 minutes before carving and serving with the roasted vegetables of your choice.

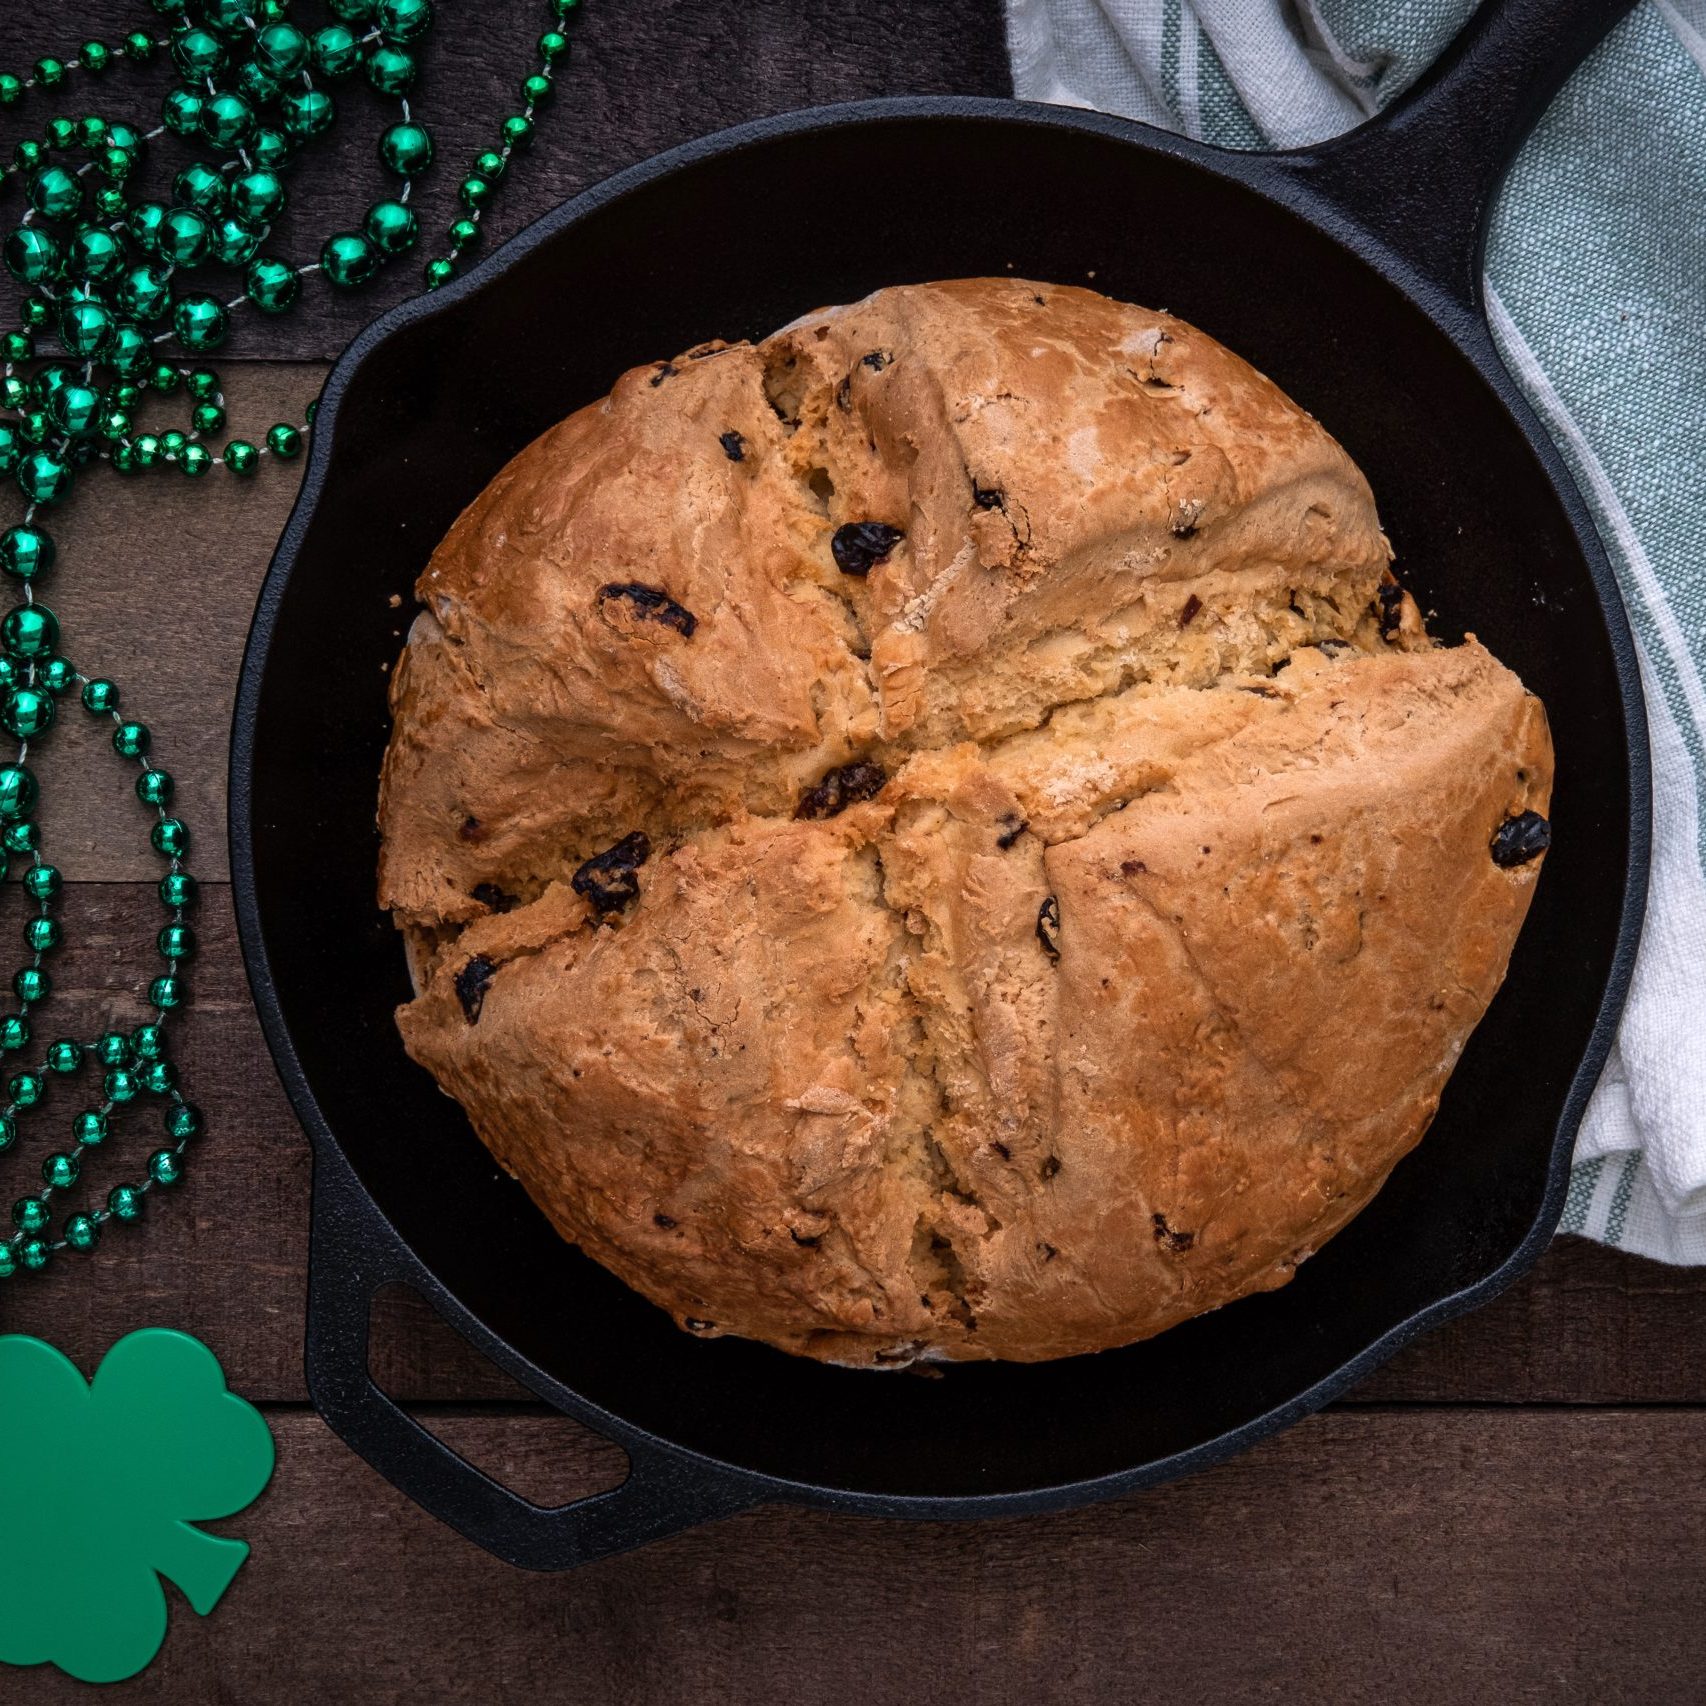
Irish Soda Bread

Irish cuisine may not be as widely recognizable or familiar across North America as Chinese, Italian or Mexican fare. But that doesn’t mean Irish food lacks fans and flavor. As the world prepares to celebrate St. Patrick’s Day on or around March 17, individuals who want to include some popular Irish fare in their festivities won’t want to exclude this recipe for “Irish Soda Bread” from AllRecipes.com.

Irish Soda Bread

Yields 1 1/2 loaf (20 servings)

Ingredients:

4 cups all-purpose flour

1/2 cup margarine, softened

4 tablespoons white sugar

1 teaspoon baking soda

1 tablespoon baking powder

1/2 teaspoon salt

1 cup buttermilk

1 egg

1/4 cup butter, melted

1/4 cup buttermilk

Directions:

1. Preheat the oven to 375 degrees F. Lightly grease a large baking sheet.

2. Mix flour, softened margarine, sugar, baking soda, baking powder, and salt together in a large bowl. Stir in 1 cup of buttermilk and egg. Turn dough out onto a lightly floured surface and knead slightly. Form dough into a round and place on the prepared baking sheet.

3. Combine melted butter with 1/4 cup buttermilk in a small bowl; brush loaf with this mixture. Use a sharp knife to cut an ‘X’ into the top of the loaf.

4. Bake in preheated oven until a toothpick inserted into the center of the loaf comes out clean, 45 to 50 minutes. Check to see if it is done after 30 minutes. You may continue to brush the loaf with the butter mixture while it bakes.

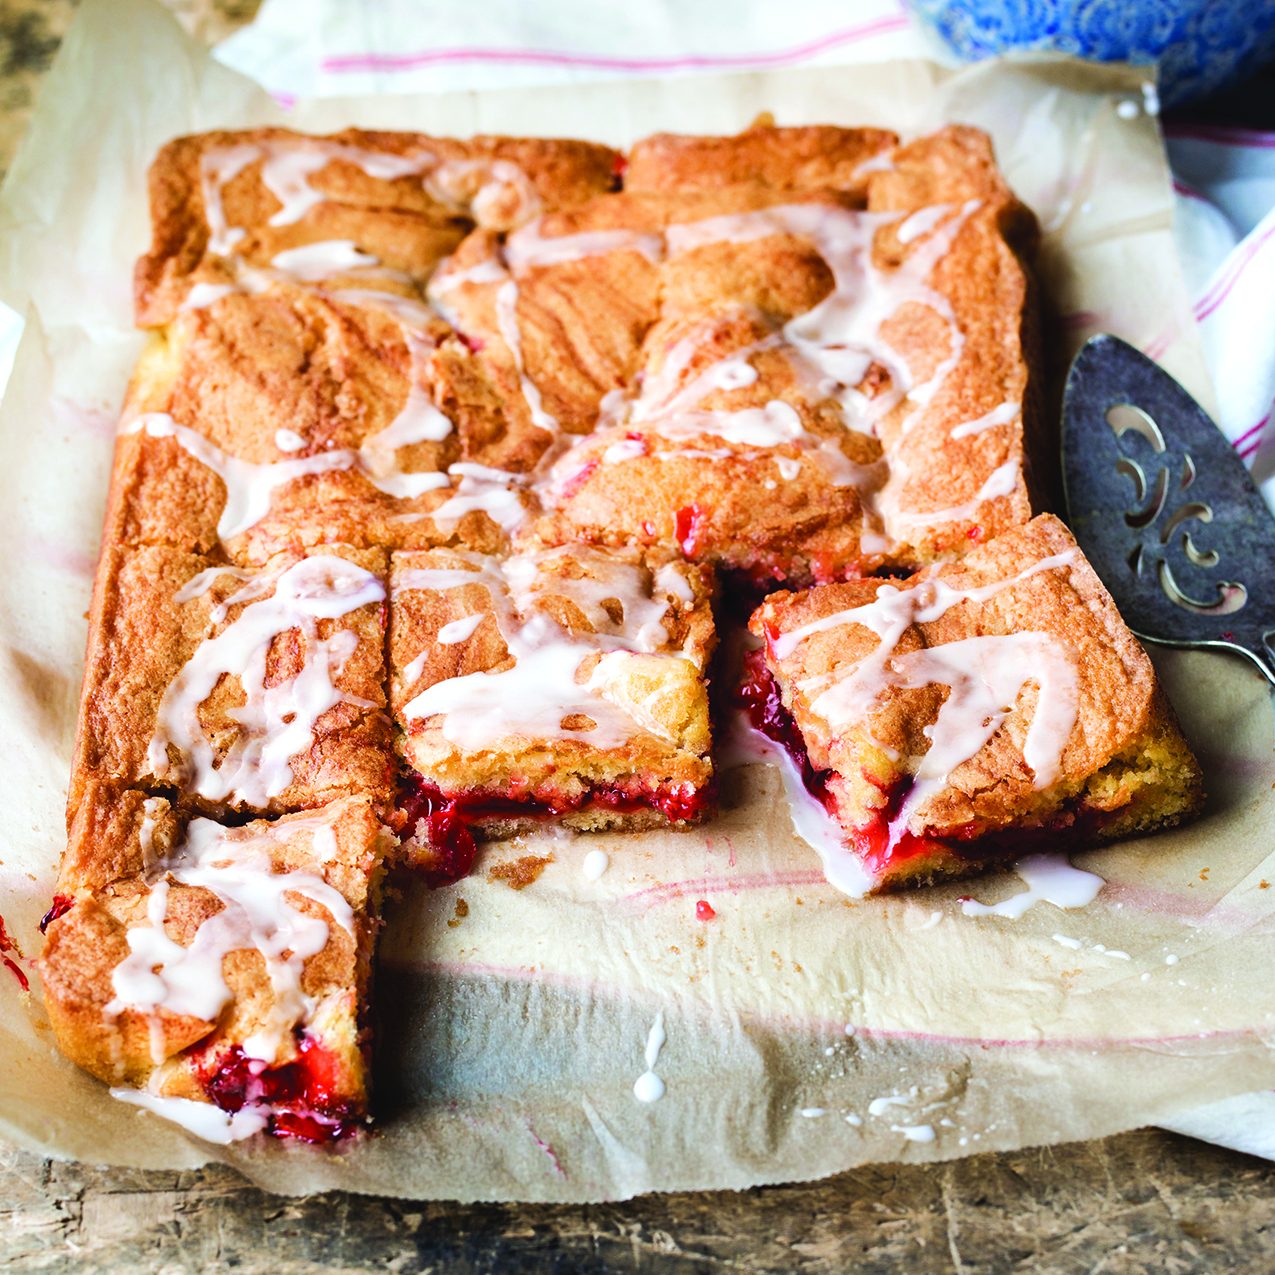
Cherry Pie Bars

Tart, red cherries and Valentine’s Day seem to be the perfect pair. Not only do cherries align with a Valentine’s Day color scheme, they even resemble little hearts when hanging from their stems.

Celebrating Valentine’s Day involves many different traditions, and enjoying decadent desserts is among them. Purchasing ready-made treats from a local bakery is one way to indulge in a sugary confection, but crafting a recipe at home is another way to show that special someone how much you care.

“Cherry Pie Bars” are not exactly a pie, but a pound cake with a cherry pie filling swirl. They can be made for many different occasions, but make for something sweet on Valentine’s Day. Whip up this recipe from “Butter, Flour, Sugar, Joy” (Sourcebooks) by Danielle Kartes.

Cherry Pie Bars

Yield: One 9-by-13-inch pan

2 cups sugar

1 cup butter, softened

4 eggs

2 cups all-purpose flour

1 teaspoon baking powder

1/2 teaspoon salt

1 21-ounce can cherry pie filling

Directions:

1. Preheat oven to 350 F. Line a 9-by-13-inch pan with parchment paper.

2. In a stand mixer, or with a hand mixer, cream sugar and butter on low. Add the eggs one at a time. Beat until just combined.

3. Add the flour, baking powder and salt. Spread a little over half the cake batter into the pan. Evenly spread the pie filling over the top, and spoon the rest of the cake batter over the pie filling. It’s fine if the cherries show through.

4. Bake 35 minutes or until the top has turned slightly golden. Do not overbake. Allow to cool and slice into squares.

Enjoy!

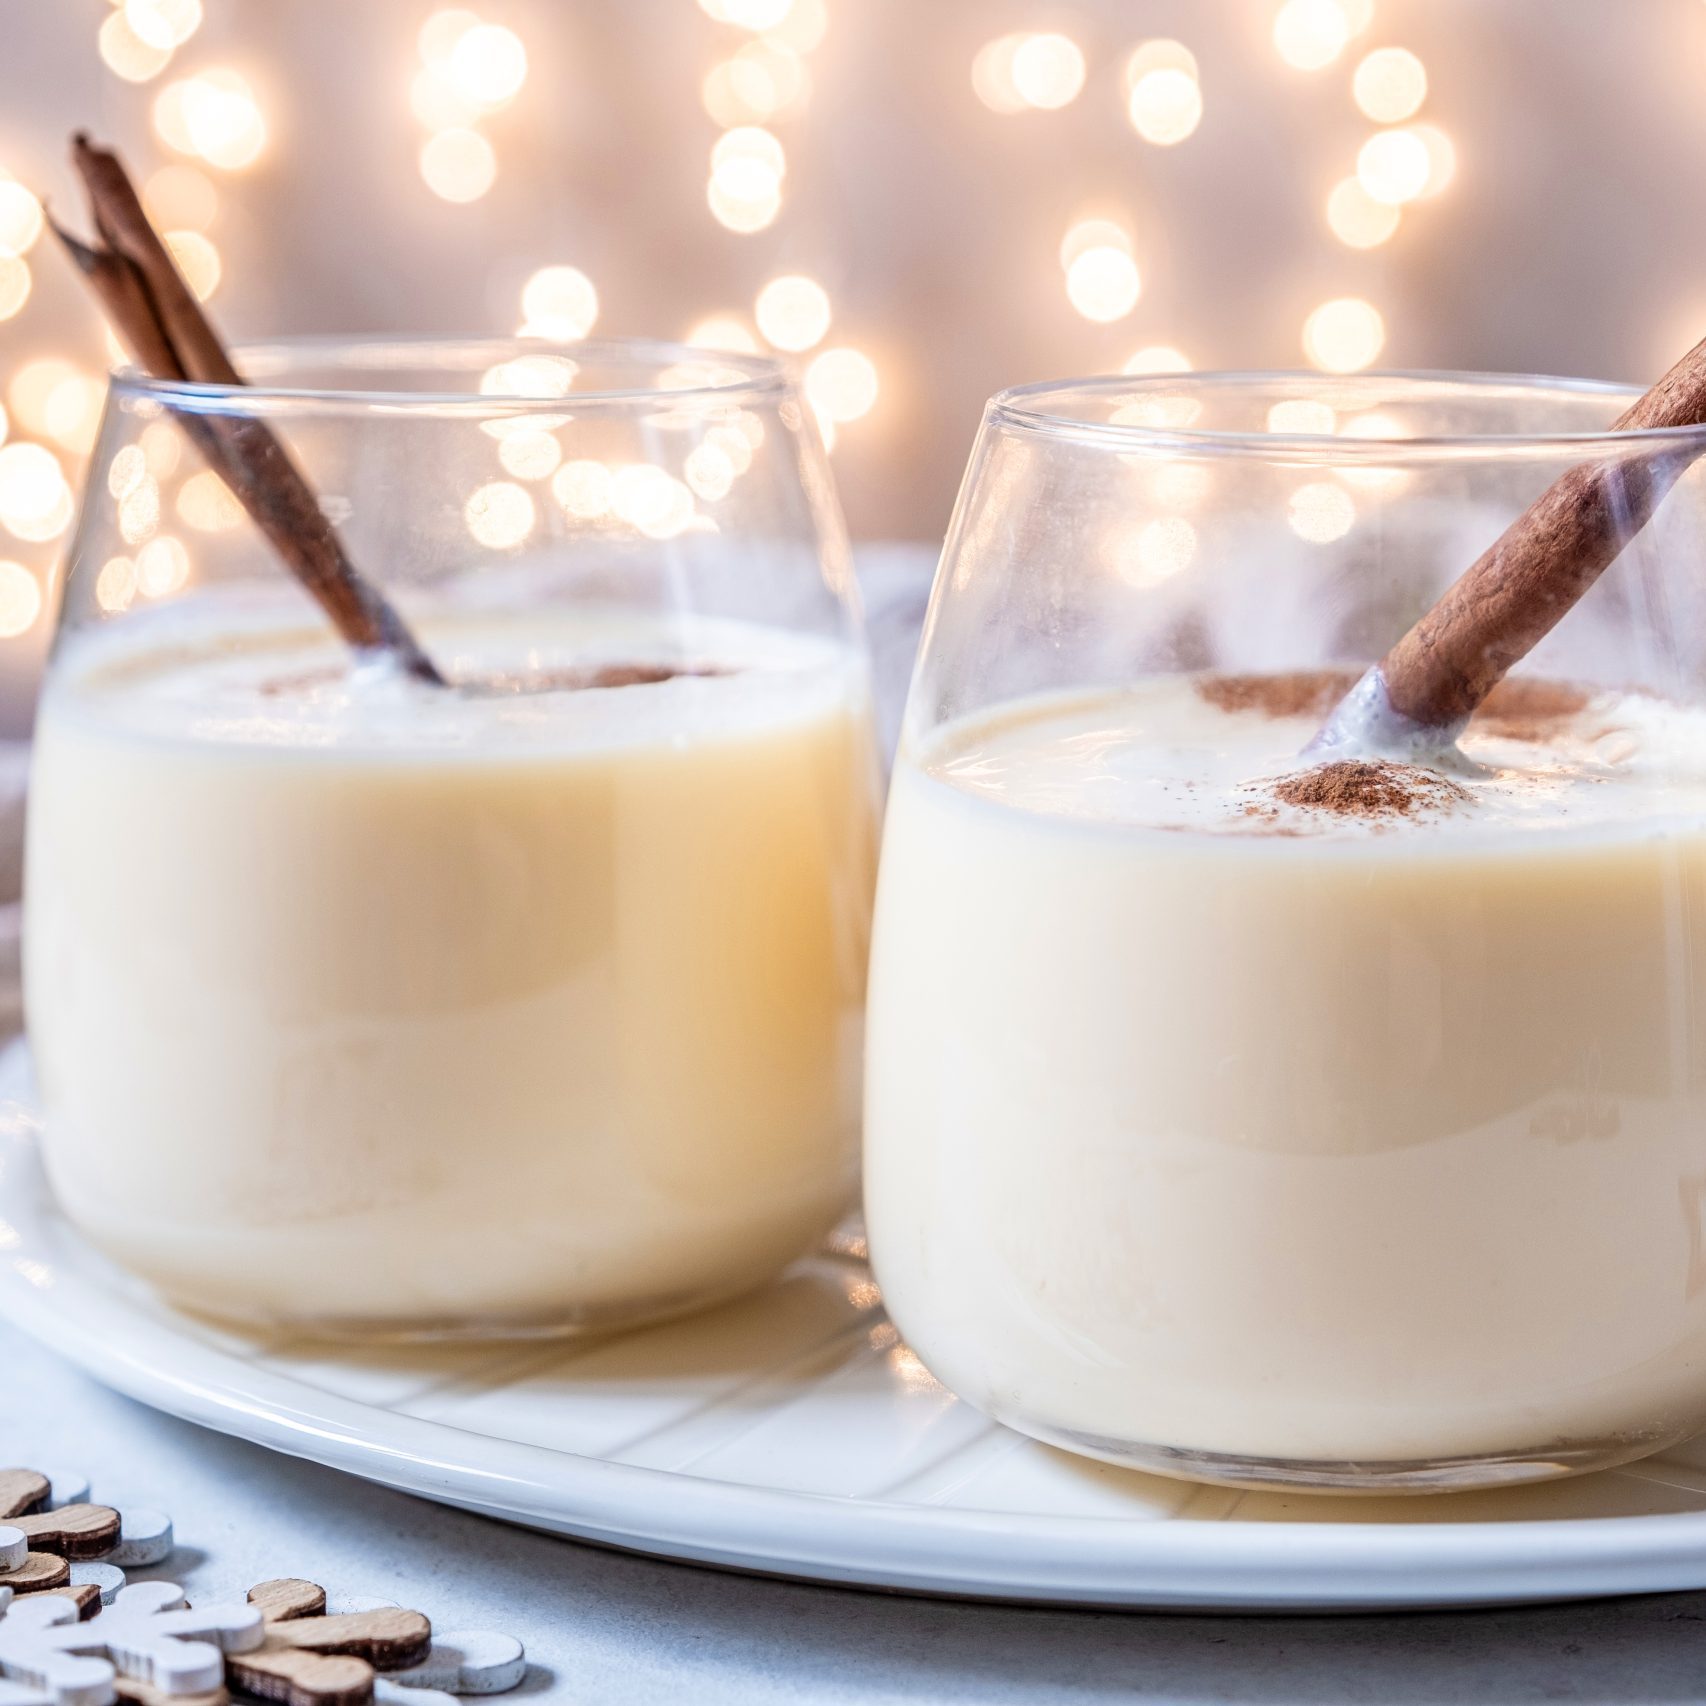
Tasty Tidbits About Eggnog

Eggnog is a rich and delicious beverage that has become synonymous with the most festive time of year. This milk- and egg-based concoction is tasty on its own, or it can be dressed up with other flavors and spiked with a favorite spirit when celebrating the holiday season with other adult partygoers.

December is National Eggnog Month, and December 24 is National Eggnog Day. There is no more perfect time of year to learn everything you can about eggnog – all the while sipping a cup of this creamy concoction. Indulge in these festive facts about the beverage, courtesy of Mental Floss, The Fact Site and Tastemade.

Eggnog likely originated in the medieval period and was known as “posset,” a hot, milk-based drink made of spices and wine. Even though posset could be a cocktail, it also was used as a remedy for colds and flu for its soothing properties.

  • Milk, eggs and sherry used in the early recipes were difficult to come by, so when eggnog first appeared it was a drink only the wealthy could enjoy. That changed when eggnog was popularized in the American colonies, where dairy products and liquor were more readily available.
  • Entymologists believe “eggnog” stems from the word “noggin,” which refers to small wooden mugs often used to serve strong ale, known by the slang word “nog.”
  • In the Medieval period, it was risky to drink milk straight because it wasn’t pasteurized. Eggnog contained alcohol so that it would kill off any harmful bacteria in the milk.
  • A typical homemade version of eggnog has roughly one egg per serving. However, commercial eggnog is regulated by the FDA and can only contain 1 percent of the product’s final weight in egg yolk solids. That stems from fear of raw egg and salmonella.
  • President George Washington apparently enjoyed serving eggnog at Christmas, and even had his own special recipe, according to the Old Farmer’s Almanac.
  • There is no right or wrong alcohol to use when preparing eggnog. Distilled spirits like rum, sherry, cognac, and whiskey all have produced suitable eggnogs.
  • Puerto Rican coquito is a traditional drink that is very similar to eggnog.
  • Individuals concerned about eggs or milk in eggnog can enjoy a vegan recipe made from nut milk instead. Commercially produced vegan eggnog offerings are now more widely available.
  • One of the more notable flavors in eggnog comes from the use of nutmeg. Nutmeg is a fragrant spice made from grinding the seed of the nutmeg tree.

Pepperoni Pizza Dip With Breadstick Dippers

No matter which teams fans support, they’re sure to get hungry watching the action play out. That’s why game day hosts need to plan foods to keep guests satiated as they follow the scores.

Dips, small bites and other finger foods are staples when the game is on because they can be eaten easily in front of the big screen. Utilizing one or more slow cookers to prepare such items creates more time to watch the game, stock the cooler with refreshments and ready the home theater. Slow cookers also can keep meals warm on the buffet table.

This recipe for “Pepperoni Pizza Dip with Breadstick Dippers” from the Crock*Pot Kitchens makes a great game day meal. Adjust as needed for the game day crowd.

Pepperoni Pizza Dip with Breadstick Dippers

Serves 8

1 jar or can (14 ounces) pizza sauce

3/4 cup chopped turkey pepperoni

4 green onions, chopped

1 can (21/4 ounces) sliced black olives, drained

1/2 teaspoon dried oregano

1 cup (4 ounces) shredded mozzarella cheese

1 package (3 ounces) cream cheese, softened

Dippers

1 package (8 ounces) refrigerated breadstick dough

2 teaspoons melted butter

2 teaspoons minced fresh Italian parsley

1. Combine pizza sauce, pepperoni, green onions, olives, and oregano in a 2-quart slow cooker. Cover; cook on low 2 hours or on high 1 to 1/2 hours or until mixture is hot.

2. Stir in mozzarella and cream cheese until melted and well blended. Serve with warm Breadstick Dippers.

3. For dippers, bake breadsticks according to package directions. Brush with melted butter and sprinkle with parsley.

Key Components Of A Fun Picnic

Dining al fresco is often associated with securing outdoor seating at a local restaurant. However, anyone can enjoy al fresco dining at home, in a park or even on the beach.

Picnics make it easy to enjoy a meal in an idyllic setting. Though there’s no rules governing picnics other than those posted by local park officials, the following are some essential components of a fun picnic.

Food

The menu for a picnic need not be elaborate, but there’s also room for foods that are a little more fancy than sandwiches. Sandwiches are still acceptable picnic fare, but those who want to expand their horizons can prepare cheeseboards, salads, fresh fruit, and other items that are easily prepared and packed in a picnic basket. It’s best to avoid hot foods, as they can be difficult to keep warm. Small grills might be allowed in certain parks, but it’s best to keep in mind that others may not want to deal with smoke from burning coals. So individuals who plan to grill during a picnic should choose a remote spot that won’t affect those around them.

Beverages

Cold beverages, including water, can ensure no one is overcome by heat. Individuals who want to bring alcohol should only do so on private property, as many local laws do not allow consumption of alcoholic beverages in public spaces like parks and beaches. A cooler with cold beverages stored in ice can be a good idea if a lot of people will be attending the picnic.

Reusable Containers

Reusable containers decrease the chances of creating litter. All it takes is one stiff wind for single-use, resealable plastic bags to blow away, and it’s not always easy to track those bags down. Picnickers should aspire to take out everything that they take in, and reusable containers make that easier to accomplish.

Basket and Tablecloth

A tablecloth does more than just set the scene for a picnic. Tablecloths collect crumbs and keep them off the ground, which can decrease the likelihood that uninvited guests like ants will join the festivities. Tablecloths also ensure utensils can be set out and put down without getting dirty.

Comfortable Seating

Though it’s entirely possible some guests will want to sit on the ground throughout the picnic, some comfortable seating can provide the perfect respite when the hard ground begins to feel a little less accommodating. Instruct guests to bring their own foldable lounge chairs, and don’t forget to bring a picnic blanket or two so anyone who wants to nap can catch a few winks. When hosting a beach picnic, look for blankets that dry quickly. Some are even made of fabric that filters out sand to keep it off of food.

Miscellaneous Items

Bug spray, sunscreen, a bluetooth speaker, biodegradable waste bags, some sports equipment and other items to keep adults and kids occupied, and even a portable fan to keep guests cool and repel mosquitoes are some additional must-haves for a fun picnic.

A picnic in the park or on the beach can be a great way to dine outside and relax in the summer sun.

Fourth of July Cookie Cups

July 4th celebrations are much anticipated each year. Whether they include an intimate barbecue with a close-knit group of friends or a massive block party with everyone from the neighborhood, there’s a strong chance that food will be part of the party.

As various menu items will hit the grill, hosts and hostesses may wonder which desserts to serve to make their events complete. While there is seemingly nothing more American than apple pie, cookies also can be sweet ways to help wrap up the festivities. Sugar cookies are a universal favorite, and in this recipe for “Fourth of July Cookie Cups” they’re shaped into cups filled with a buttercream frosting.

Enjoy this star-spangled showcase, courtesy of “Live Well, Bake Cookies” (Rock Point) by Danielle Rye.

Fourth of July Cookie Cups

Makes 24

Nonstick cooking spray, for greasing the pan

1 1/2 cups all-purpose flour, spooned and leveled

1 teaspoon cornstarch

1/2 teaspoon baking powder

1/4 teaspoon salt

1/2 cup (1 stick) unsalted butter, softened

3/4 cup granulated sugar

1 large egg, at room temperature

1 teaspoon vanilla extract

Red, white and blue sprinkles, for topping

Vanilla Buttercream Frosting

1/2 cup (1 stick) unsalted butter, softened

1 1/2 cups powdered sugar

1 tablespoon heavy whipping cream or milk

1 teaspoon pure vanilla extract

1. To make the cookie cups: preheat the oven to 350 F. Spray a 24-count mini muffin pan with nonstick cooking spray and set aside.

2. In a large mixing bowl, whisk together the flour, cornstarch, baking powder, and salt. Set aside.

3. In the bowl of a stand mixer fitted with the paddle attachment or in a large mixing bowl using a handheld mixer, beat the butter and granulated sugar together for 1 to 2 minutes, or until well combined.

4. Mix in the egg and vanilla extract until fully combined, making sure to stop and scrape down the sides of the bowl as needed.

5. Mix in the dry ingredients until just combined.

6. Evenly distribute the cookie dough among all 24 cups in the mini muffin pan, a little more than 1 tablespoon of cookie dough per cup. Press each ball of cookie dough into the cups and smooth it out.

7. Bake for 11 to 13 minutes, or until the edges of the cookie cups are lightly browned and the tops are set.

8. Remove from the oven, and make an indentation in each cookie using the back of a measuring spoon. Allow to cool in the muffin pan, then carefully remove from the pan and set aside.

9. To make the vanilla buttercream frosting: In the bowl of a stand mixer fitted with the paddle attachment or in a large mixing bowl using a handheld mixer, beat the butter for 1 to 2 minutes until smooth. Add the powdered sugar, 1/2 cup at a time, mixing in each addition until well combined.

10. Add the heavy whipping cream and vanilla extract, and continue mixing until fully combined, stopping to scrape down the sides of the bowl as needed. Pipe the frosting into the cooled cookie cups and top with the sprinkles.

12. Store the cookie cups in an airtight container at room temperature or in the refrigerator for up to 4 days.

Dish Up A Classic Comfort Food This St. Patrick’s Day

Everyone has “corned beef and cabbage” on the brain come St. Patrick’s Day. But another flavorful dish might appeal to a greater number of people with Irish roots.

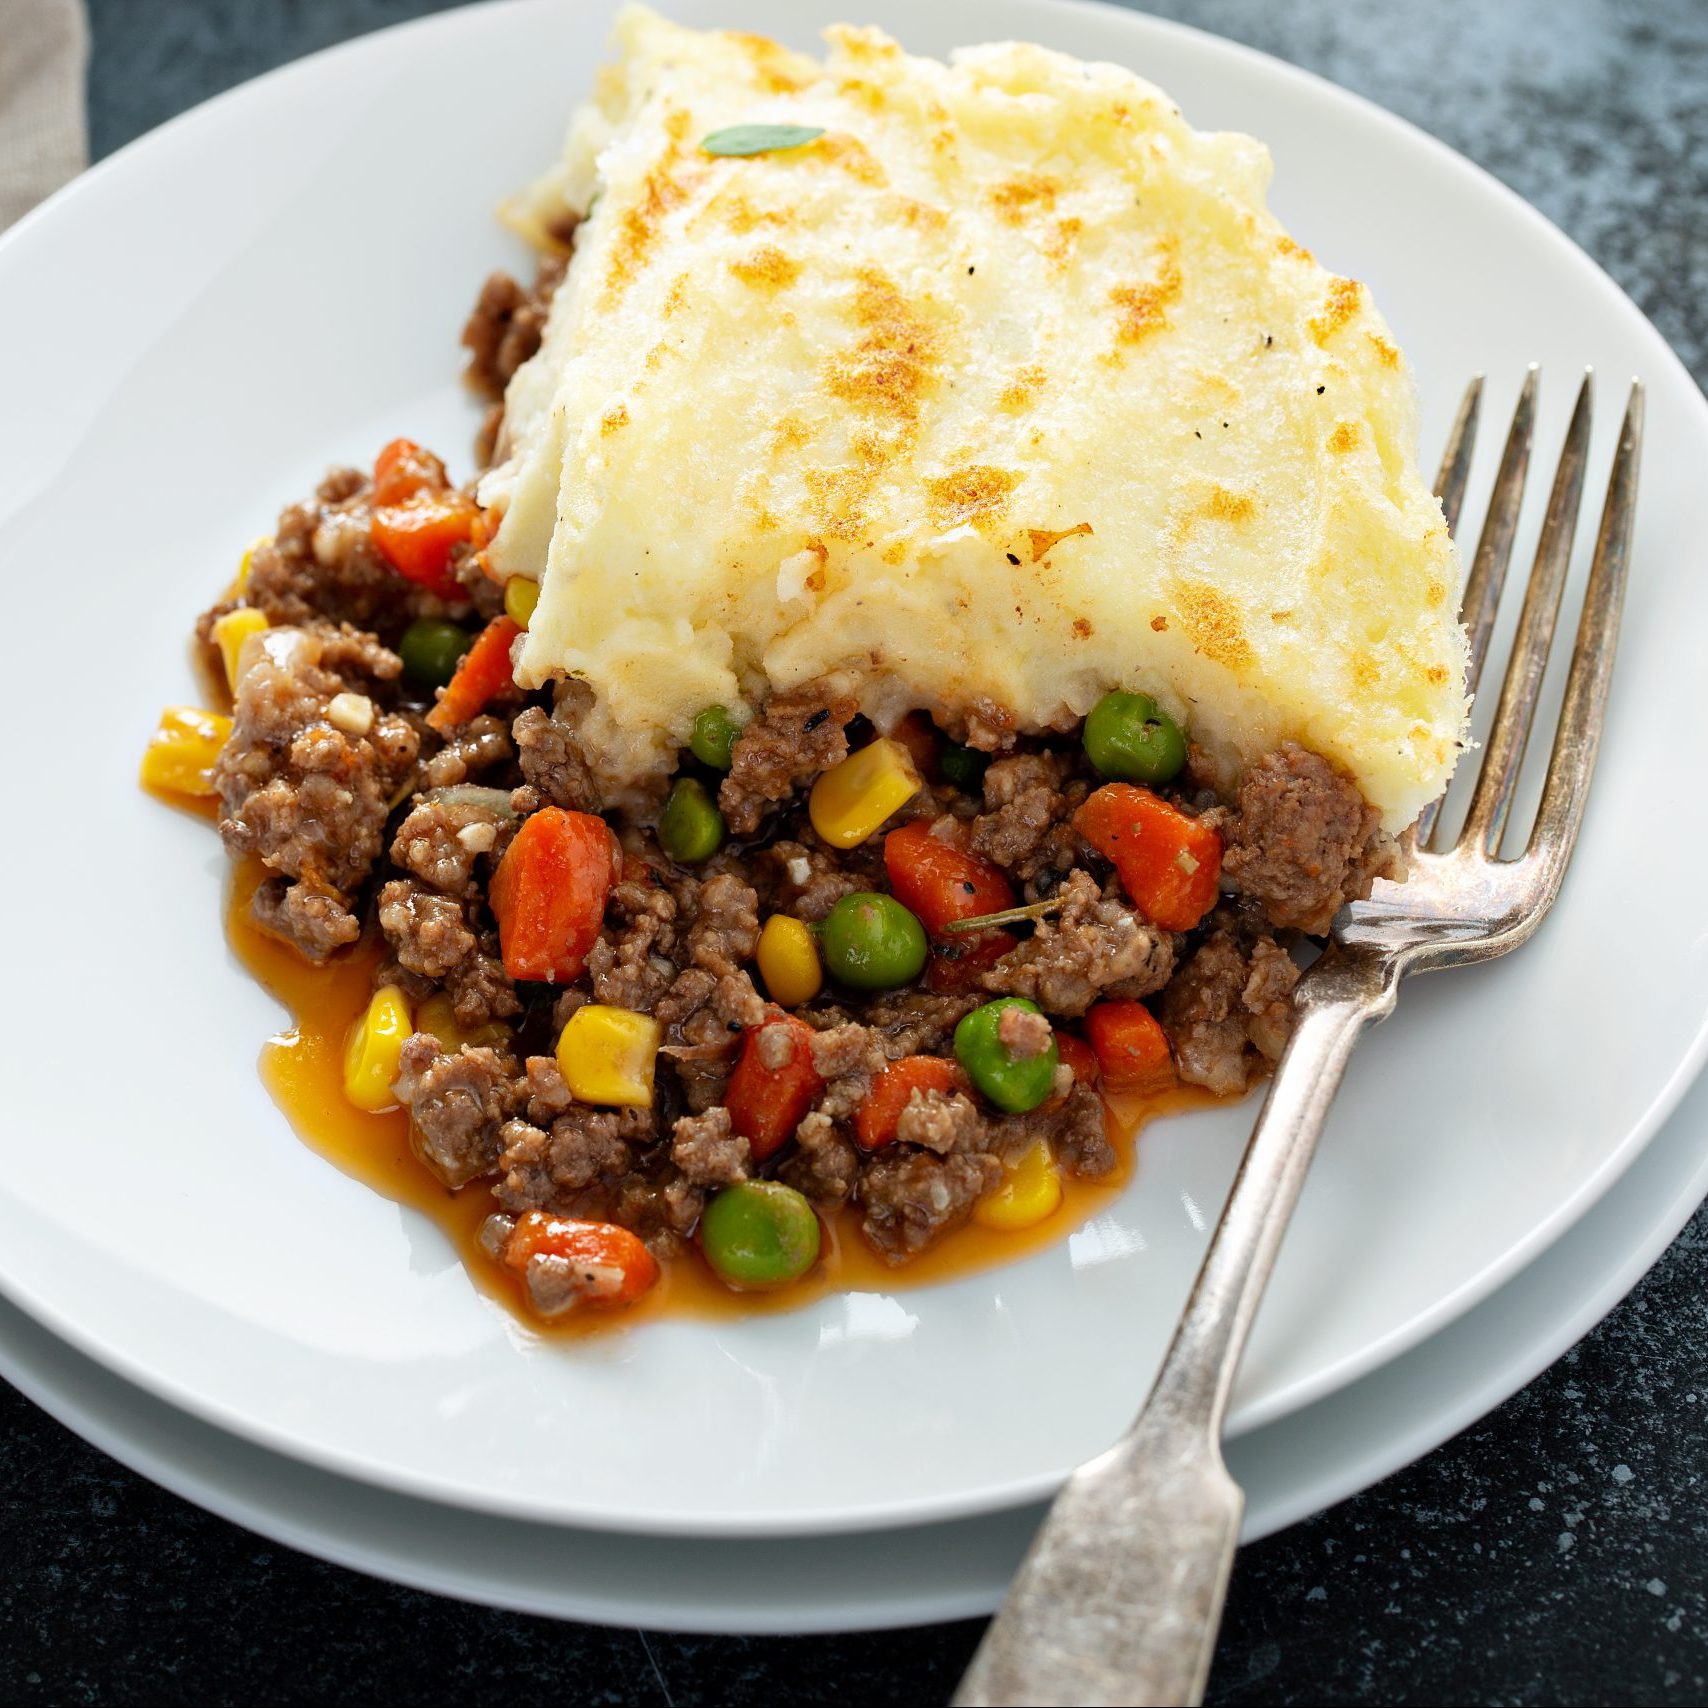
Shepherd’s Pie is a savory dish made of minced lamb that originated in England but also made the jump to Ireland, where it became a popular comfort food. While Shepherd’s Pie can be made with freshly cooked ground meat, it also is a fine way to use leftovers from a previous meal. Shepherd’s Pie is commonly mistaken for Cottage Pie, which is very similar, yet tends to use beef as the meat of choice.

Many families have their own ancestral recipes for Shepherd’s Pie, but for those looking to cook the dish for the first time, try “Shepherd’s Pie,” courtesy of Alton Brown, which appeared in Season 12 of his hit show “Good Eats.”

Shepherd’s Pie

Yield: 8 servings

1 1/2 pounds russet potatoes

2 tablespoons canola oil

1 cup chopped onion

2 carrots, peeled and finely diced

2 cloves garlic, minced

1 1/2 pounds ground lamb

1 3/4 teaspoons kosher salt

3/4 teaspoon freshly ground black pepper

2 teaspoons tomato paste

1 cup chicken broth

2 teaspoons chopped fresh rosemary

1 teaspoon chopped fresh thyme

1 teaspoon Worcestershire sauce

1/4 cup half-and-half

4 tablespoons unsalted butter

1 large egg yolk

1/2 cup corn kernels, fresh or frozen

1/2 cup English peas, fresh or frozen

1. Heat oven to 400 F.

2. Peel the potatoes and cut them into 1/2-inch dice. Put them in a medium saucepan and cover with cold water. Set said pan over high heat, cover and bring to a boil. Uncover, drop the heat to maintain a simmer, and cook until tender, 10 to 15 minutes.

3. Heat the oil in an 11-inch saute pan over medium-high heat until shimmering. Add the onion and carrots and saute just until they begin to take on color, 3 to 4 minutes. Add the garlic and stir to combine. Add the meat, salt and pepper, and cook until browned and cooked through, approximately 3 minutes.

4. Sprinkle the meat with the flour, toss to coat, and continue to cook for another minute. Add the tomato paste, broth, Worcestershire sauce, rosemary, and thyme and stir to combine. Bring to a boil, then decrease the heat to low, cover, and simmer slowly until the sauce is thickened slightly, 10 to 12 minutes.

5. Meanwhile, combine the half-and-half and butter in a microwave-safe container and nuke until warmed through, about 35 seconds.

6. Drain the potatoes and return them to the saucepan. Mash the potatoes (a masher is an excellent tool for this, though a hand mixer will do), then add the hot half-and-half mixture, as well as the salt and pepper. Mash to smoothness, then stir in the egg yolk.

7. Add the corn and peas to the meat mixture and spread evenly in a 7-by-11-inch glass baking dish. Top with the mashed potatoes, starting around the edges to create a seal to prevent the mixture from bubbling over, and smooth the top with a rubber spatula. Place on a half sheet pan lined with parchment paper on the middle rack of the oven and bake for 25 minutes, or just until the potatoes begin to brown. Remove to a cooking rack and let rest for at least 15 minutes before serving.

A Perfect Dish For A New Year’s Day Brunch

The late-night revelry of New Year’s Eve has made New Year’s Day brunch a go-to tradition for millions of people. Staying up until the calendar officially turns from one year to the next at the stroke of midnight can make it harder to get out of bed on the morning of January 1, so there may be no better day to plan a brunch than the first day of the calendar year.

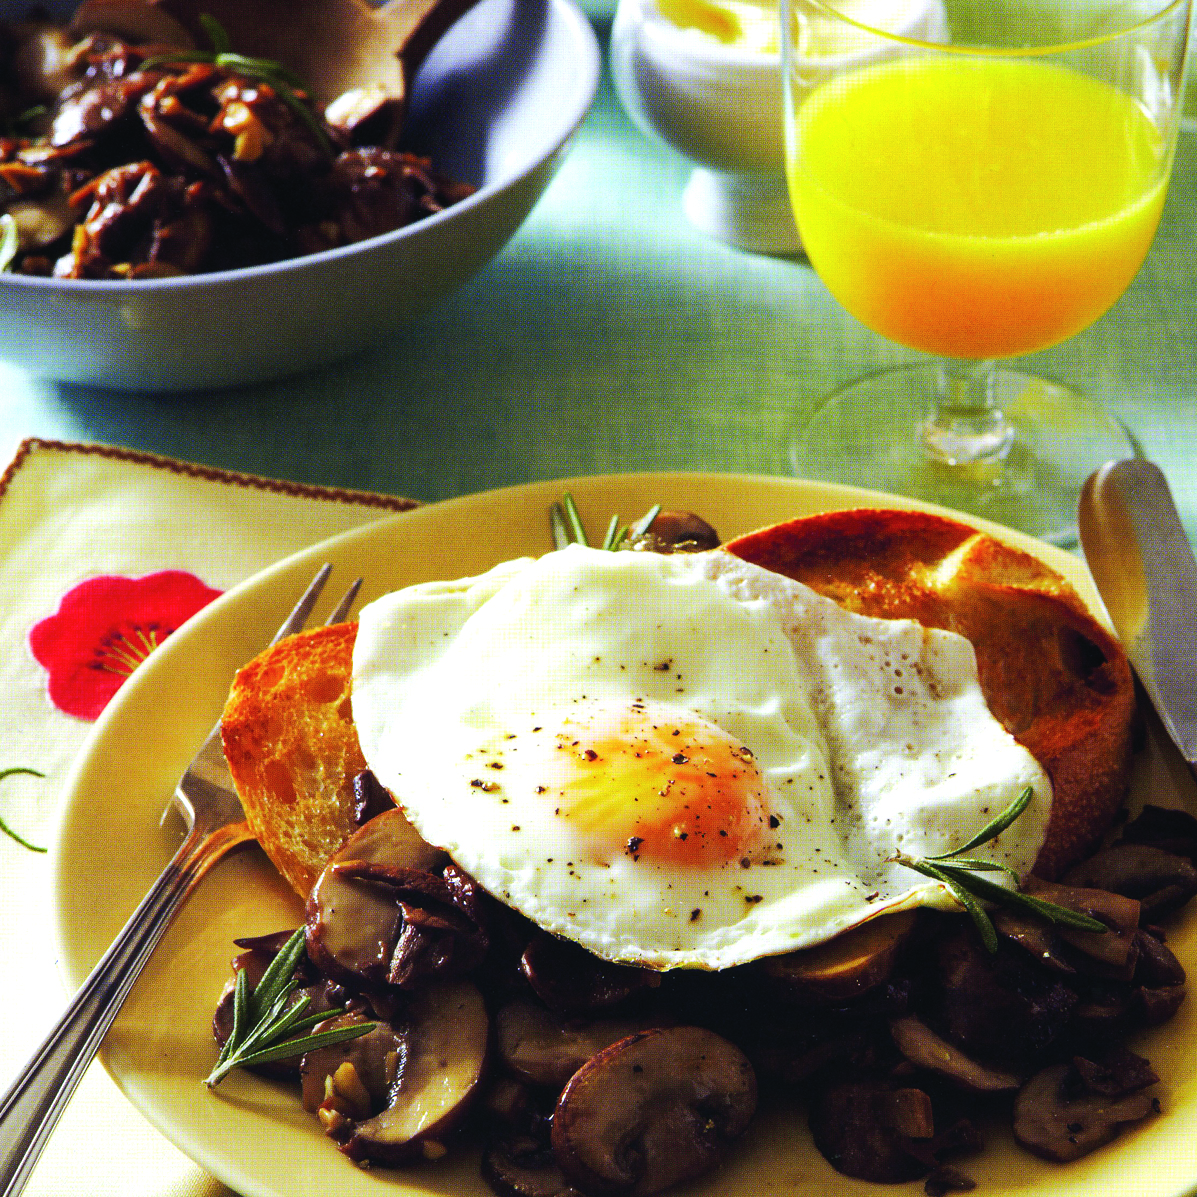
Many restaurants offer brunch specials on New Year’s Day, but people need not leave home to ensure their first meal of the new year is delicious. This recipe for “Pan-Fried Eggs and Mixed Mushroom Sauté on Toasted Sourdough Slices” from “Sunday Brunch” (Chronicle Books) by Betty Rosbottom can be just the dish to begin a new year.

Pan-Fried Eggs and Mixed Mushroom Sauté on Toasted Sourdough Slices

Serves 4

Mushroom Sauté

11/4 ounces mixed dried mushrooms

11/2 cups boiling water

3 tablespoons olive oil

8 ounces sliced brown mushrooms

2 teaspoons minced garlic

1 teaspoon dried crushed rosemary (see tip)

Kosher salt

Freshly ground black pepper

Toast and Eggs

4 1/2-inch thick sourdough slices

Olive oil

2 tablespoons unsalted butter

4 eggs

Kosher salt

Freshly ground black pepper

Rosemary sprigs for garnish (optional)

1. For the Mushroom Sauté: Place the dried mushrooms in a medium bowl and cover with the boiling water. Let stand until softened, 20 minutes. Strain in a sieve lined with a double thickness of paper towels and reserve the soaking liquid. Coarsely chop the mushrooms.

2. Heat the olive oil in a medium, heavy frying pan set over medium heat. When hot, add the brown mushrooms and sauté, stirring often, for 6 minutes. Add the reserved mushrooms, garlic, rosemary, and 1/2 teaspoon salt; stir for 1 minute. Add the mushroom liquid and cook, stirring, until it has evaporated, 4 to 7 minutes. Season with salt and several grinds of pepper. Remove the frying pan from the heat and cover with foil to keep warm. (The mushrooms can be prepared 1 day ahead; cool, cover and refrigerate. Reheat, stirring, over medium heat.)

3. For the toast and eggs: Brush both sides of the bread slices generously with olive oil. Set a 10- to 11-inch nonstick frying pan over medium-high heat, and, when hot, add the bread and cook until lightly browned, about 2 minutes per side. Remove the toast and cover loosely with foil. When pan is cool enough to handle, wipe it out with clean paper towels.

4. Add the butter to the frying pan and set it over medium heat. When the butter starts to foam, break an egg into a saucer, being careful to remove any shell fragments., and gently slide it into the frying pan. Repeat with the remaining eggs. Immediately reduce the heat to low and cook, basting the eggs with some of the butter in the pan frequently, until the whites are firm and the yolks are still soft and runny, 3 minutes.

5. While the eggs are cooking, arrange a toasted bread slice on each of four plates. Mound the mushrooms evenly over the toast.

6. Remove each egg with a spatula and arrange on top of the mushrooms. Season with salt and pepper and, if desired, garnish each serving with a rosemary sprig. Serve immediately.