Tag: garden

Home Improvement Projects for Your Fall To-Do List

Homeowners know that maintaining a home can be a year-round job. No home is immune to wear and tear, and homeowners who want to protect their real estate investments should try to stay two steps ahead to ensure their homes do not succumb to the elements or become outdated and unappealing to prospective buyers.

Fall has become a season that’s synonymous with home improvement, but homeowners need not wait until the leaves begin changing colors to start planning their next projects. The following are a few items homeowners can add to their fall home improvement to-do lists.

Roof inspection

Less precipitation tends to fall during the warmer months than during the late fall and winter. As a result, homeowners may not be aware of leaky roofs until autumn has come and gone. But waiting until winter to inspect the roof can prove disastrous, as weather conditions will not be conducive to inspection and increased precipitation may result in potentially costly damage.

Leaky roofs can be easily identified by looking for water stains on interior ceilings. Once you see a stain, you can climb onto the roof to identify the location of the leak and fix it before winter rains and snowfall turn the problem into something much larger. Inspect your ceilings for signs of leaking after a strong rainfall, and then address any leaks immediately.

Gutter cleaning

While some homeowners prefer to delay their gutter cleaning projects until late fall, those whose homes are surrounded by trees may need to schedule two such projects. Gutters clogged with leaves and other debris can cause serious roof damage, and that damage can extend all the way inside a home.

In addition, clogged gutters make great nesting areas for insects or critters. Always stand on a ladder when cleaning gutters, wearing gloves to remove items by hand and dropping leaves and debris into a trash can below. Standing on the roof and leaning over gutters greatly increases your risk of injury. If the gutters are clear when you first examine them in early fall, you can wait until later in the season to give them a complete and thorough cleaning. Once you have finished clearing the gutters, you can use a hose to run water through them and the downspouts to confirm everything is functioning properly.

Window and doorway inspection

Before temperatures start dropping once again, homeowners will want to inspect their windows and doorways for leaks. Over time, cracks can develop around windows and doorways, and while such cracks are rarely noticeable when the weather outside is warm, they can be quite obvious and very costly if they remain unsealed come the start of winter. Cold air can enter a home through cracks around windows and doorways, and many homeowners who don’t suspect leaks may respond by turning up the thermostats in their homes. That can prove quite expensive over a full winter. Choose a windy autumn day to place a hand by windows and external doorways in your home to see if you can feel drafts.

If you can, seal these cracks as soon as possible. Patio cleanup Patios are popular hangouts during spring and summer, and that can result in a lot of wear and tear. Once you store patio furniture for the winter, inspect your entire patio to determine if it needs any refurbishing. While certain patio projects may be best left for spring, you can still clean any stained areas around the grill and look for cracks in the sidewalk that need to be addressed.

Preparing for fall home improvement projects ahead of time can help homeowners complete projects in a timely manner and ensures they won’t be forced to brave the winter elements when refurbishing their homes.

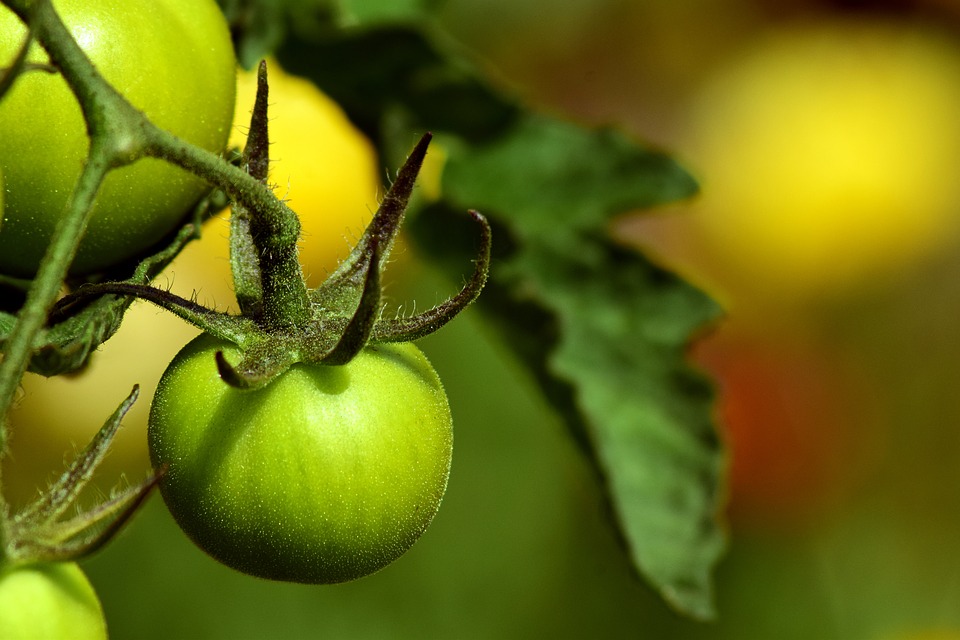
Green Tomatoes Not Just for the Frying Pan

Perhaps in part due to the popular 1991 film “Fried Green Tomatoes,” many people are familiar with the Southern United States side dish of the same name. But as proven by the following recipe for “Grilled Green Tomato ‘Sandwiches’ with Herbed Cream Cheese” from Karen Adler and Judith Fertig’s “The Gardener & The Grill” (Running Press), green tomatoes can be even more delicious when grilled than they are when fried.

Grilled Green Tomato “Sandwiches” with Herbed Cream Cheese (Serves 6)

Herbed Cream Cheese

1 8-ounce package cream cheese at room temperature
1 garlic clove, minced
2 tablespoons chopped fresh basil
1 tablespoon snipped fresh chives

Tomatoes

4 large green tomatoes (about 11/2 pounds), sliced 3/4-inch thick (to make 12 slices)

Olive oil, for brushing

2 teaspoons Seasoning Salt (see below) or kosher salt

Ground black pepper

Prepare a medium-hot fire in your grill. Place a well-oiled perforated grill rack over direct heat.

In a bowl, blend the cream cheese, garlic, basil, and chives together until smooth. Set aside.

Brush the tomato slices with olive oil on both sides and season with seasoning salt and pepper. Place the slices on a baking sheet and bring out to the grill with the bowl of Herbed Cream Cheese and a knife for spreading.

Grill all of the tomatoes on one side for about 3 minutes with the lid open, then flip and grill on the other side for 3 minutes more, or until the tomatoes have good grill marks.

Remove the tomato slices from the grill and allow to cool slightly on the baking sheet. Spread Herbed Cream Cheese on half of the slices, top with a second slice and set the sandwiches on a platter. Serve the sandwiches hot, with oozing cream cheese filling.

Variation: Grill all of the tomato slices as above and top each grilled tomato with a dollop of the cream cheese and serve open-faced.

Seasoning Salt (Makes 11/4 cups)

1 cup sea salt
2 tablespoons paprika
1 teaspoon parsley flakes
1 teaspoon dried chives
1 teaspoon black pepper
1/2 teaspoon dried marjoram leaves
1/2 teaspoon celery seed
1/2 teaspoon curry powder
1/2 teaspoon garlic powder
1/4 teaspoon red pepper

Combine all of the ingredients in a glass jar and cover with a tight-fitting lid. Shake to blend. This keeps for several months in the pantry.

Stay Safe When Landscaping

Landscaping is typically viewed as a chore by homeowners, many of who enjoy doing some work on their lawns and gardens. But only few homeowners may recognize the potential dangers of lawn maintenance.

The Consumer Product Safety Commission reports that more than 230,000 people per year are treated for various injuries resulting from lawn and garden tools. Common injuries include loss of fingers, lacerations, broken and dislocated bones, eye injuries, and burns. Many of these injuries are entirely preventable if homeowners prioritize safety when tending to their lawns and gardens.

Understand the equipment

Homeowners should not assume they know how to use all of the tools necessary to maintain lush lawns and bountiful gardens. Familiarize yourself with the proper operation of manual and motorized equipment by reading the owner’s manual thoroughly, making special note of recommended safety guidelines.

Take some time to locate the power buttons and other parts by comparing them to illustrations in the guide. Once you feel comfortable handling the equipment, then you can begin to use it.

Wear appropriate protective gear

Failure to wear protective gear can lead to injury. Personal protective equipment includes gloves, eye protection, ear protection, boots, and a hard hat if necessary. When working during visibility conditions or at night, wear a reflective vest.

Other protective items include a hat to shade your eyes from the sun’s rays. Sunscreen will protect the skin from UVA and UVB radiation. Long pants and sleeves can guard against flying debris.

Watch your surroundings

Thousands of injuries occur to children and pets who get hurt around mowers. It’s best if children and pets remain indoors when homeowners are mowing or using other power equipment that may kick up debris. Children under the age of 12 may not have the strength or ability to operate lawn tools. Also, never make a game of riding a child on a riding mower. Nobody under the age of 16 should operate riding lawn mowers.

Get approval before digging

It’s difficult to know what is beneath the ground without having a property surveyed and marked. Digging without approval can result in damage to gas lines or water/sewer pipes. Always check with the utility company before digging trenches or holes.

Unplug or turn off all equipment

When not in use, keep lawn equipment off. Do not try to repair or fix a snag or obstruction in equipment while it is on. Don’t modify the equipment in any way, such as removing protective guards.

Exercise caution with chemicals

Follow manufacturers’ safety instructions when using pesticides or fertilizers. Avoid application on windy days or right before a rainstorm, as this can spread the product and damage the ecosystem. Keep people and pets away from treated areas.

Maintaining the yard is both a necessity and a hobby. Homeowners who prioritize safety can greatly reduce their risk of injury.

Avoid Aches & Pains When Gardening

People who have not spent much time in a garden may not consider this rewarding hobby much of a threat to their health. But as veteran gardeners can attest, gardening can contribute to nagging aches and pains that can force even the most ardent green-thumbers indoors.

Gardening is a physical activity that, despite its peaceful nature, can be demanding on the body. Thankfully, there are several ways that gardening enthusiasts can prevent the aches and pains that can sometimes pop up after long days in the garden.

· Use ergonomic gardening tools. Ergonomic gardening tools are designed to prevent the types of aches, pains and injuries that can cut gardeners’ seasons short. Gardening injuries can affect any area of the body, but injuries or aches and pains affecting the back, wrists and hands are among the most common physical problems gardeners endure. Look for ergonomic tools that reduce the strain on these areas of the body. Even arthritis sufferers who love to garden may find that ergonomic tools make it possible for them to spend more time in their gardens without increasing their risk for injury.

· Alternate tasks. Repetitive-strain injuries can affect gardeners who spend long periods of time performing the same activity in their gardens. By alternating tasks during gardening sessions, gardeners can reduce their risk of suffering repetitive strain injuries. Alternate tasks not just on muscle groups worked, but also level of difficulty. Remember to include some simple jobs even on busy gardening days so the body gets a break.

· Take frequent breaks. Frequent breaks can help combat the stiffness and muscle aches that may not appear until gardeners finish their gardening sessions. Breaks help to alleviate muscles or joints that can become overtaxed when gardening for long, uninterrupted periods of time. When leaning down or working on your hands and knees, stand up to take breaks every 20 minutes or the moment aches and pains start to make their presence felt.

· Maintain good posture. Back injuries have a tendency to linger, which can keep gardeners indoors and out of their gardens. When gardening, maintain good posture to prevent back injuries. Gardening back braces can protect the back by providing support and making it easier for gardeners to maintain their posture. Tool pouches attached to gardening stools or chairs also can be less taxing on the back than gardening belts tied around the waist.

Gardening might not be a contact sport, but it can cause pain if gardeners do not take steps to prevent the onset of muscle aches and strains when spending time in their gardens.

Post-Winter Garden Prep

Lawns and gardens can bear the brunt of winter weather and are often in need of tender loving care by the time spring arrives.

Preparing a garden for spring and summer involves assessing any damage that harsh weather might have caused. As temperatures climb, gardeners can heed the following post-winter garden preparation tips in an effort to ensure some successful gardening in the months ahead.

· Assess the damage. Even if winter was mild, gardens might still have suffered some damage. Inspect garden beds and any fencing or barriers designed to keep wildlife from getting into the garden. Before planting anew, fix any damage that Mother Nature or local wildlife might have caused over the past several months.

· Clear debris. Garden beds and surrounding landscapes that survived winter without being damaged might still be littered with debris. Remove fallen leaves, branches and even litter that blew about on windy winter days before planting season. Make sure to discard any debris effectively so it does not find its way back into the garden.

· Turn the greenhouse into a clean house. Spring cleaning is not just for the interior of a home. Cleaning a greenhouse in advance of spring can help gardeners evict any overwintering pests that can threaten plant life once spring gardening season arrives. A thorough cleaning, which should include cleaning the inside of greenhouse glass and washing flower pots and plant trays, also can prevent plant diseases from surviving into spring.

· Check for pests. Speak with a local gardening professional to determine if there are any local pests to look out for and how to recognize and remove these pets from gardens. Pests may hibernate in the soil over the winter, and such unwelcome visitors can make it difficult for gardens to thrive come spring and summer.

· Assess plant location. If plants, flowers or gardens have struggled in recent years or never grew especially vibrant, then gardeners may want to assess the location of their plant life before spring gardening season begins. Some plants may not be getting enough sunlight in certain locations on a property, while others might be overexposed to the sun during spring and summer. Moving plants that are not thriving prior to the start of spring gardening season may be just what gardens need to flourish in the coming weeks.
Spring gardening season is right around the corner, so now is an ideal time to prepare gardens for the warmer seasons ahead.

Recycle Yard Waste Into Valuable Compost

Composting may be a person’s first foray into an eco-friendly lifestyle. Compost is a nutrient-rich natural fertilizer that some people refer to as “black gold.” It can be made from most types of lawn and garden waste as well as some discarded items from the kitchen.

Many people have renewed interest in composting because they understand the environmental ramifications of over-reliance on chemical fertilizers. Ground water may become contaminated and certain fertilizers may have adverse effects on wildlife. Compost, a living organism of sorts, comprised of beneficial bacteria, insect life and nutrients for plants, is on the other side of the plant food spectrum. Because it can be generated for little to no cost, compost is not only environmentally responsible but economical as well.

A home landscape can provide a wealth of material to use in a compost heap or bin. Rather than putting fallen leaves or lawn clippings to the curb or in the trash, they can be turned into beneficial material to help keep your garden self-sustained.

To begin, you will first need to determine the composting method that will work for you. Compost can be generated from a pile of material placed in an out-of-the-way corner of the yard or be created in a specially designed, expensive compost bin. Many homeowners fall in between these two methods with their compost systems. Most create their own bins from wood and chicken wire or even use a trash container to contain the compost.

Once the container or pile location is established, it is time to start the compost recipe. In order to function optimally, compost should have an abundance of aerobic bacteria, which will compost the waste quickly. Aerobic bacteria need oxygen and a certain amount of moisture to survive. Therefore, it is important to include materials in the compost that will achieve these conditions. Composters frequently refer to “greens” and “browns” in a compost mix. Greens are fresh leaves and grass clippings and kitchen scraps. These materials will have an abundance of moisture as well as nitrogen. Browns are older, dried out plant material and wood. The browns help create air cushions in the compost that facilitate aeration and also contain carbon. Without aeration, the compost will compact down too quickly, which could slow down the decomposition process. This may result in a foul odor.

Avoid the use of bones, meat or cheese in a compost bin. This will only attract scavengers and may rot faster than it can be decomposed by the bacteria. Also, avoid pet waste or any lawn trimmings that have been treated with pesticides.

Turning the compost will help keep it aerated and will also distribute the bacteria. This can help speed along the composting process. Avoid adding weeds to juvenile compost because it may not be hot enough to kill the seeds and then you’ll be stuck with weeds in the compost — and wherever you place that compost.

Moisture is essential to the compost. Each time you add new material to the compost bin, dampen it. It should be moist but not dripping. Adding a balance between greens and browns should help regulate the moisture level as well. Remember, during warmer months, the compost may dry out more, so you will need to be on top of the moisture levels.

The composting process works best at temperatures between 120 and 150 F. The compost will generate its own heat as matter is broken down. However, the heat of warm months can speed up the process. Novice composters may want to begin their composting in the summer as a first attempt.

Hot composting piles can be turned into soil fertilizer in as little as 8 to 10 weeks. Therefore, plan your composting start date accordingly. Soon after you may have a naturally sustainable garden that produces material enough to continually feed your existing compost pile.


TF132875

Maximize Your Farmer’s Market Trip

Community-based farmer’s markets can introduce shoppers to an array of foods they may otherwise never experience. Farmer’s markets are great places to find fresh, locally grown foods, and many market customers are happy to know they’re benefitting both the environment and local businesses with every dime they spend.

Farmer’s markets can range from the very large to the relatively small, and first-time visitors may not know where to begin. The following are a handful of ways to maximize your visit to farmer’s markets of all sizes.

· Take time to explore. Farmer’s markets tend to have many of the same fruits and vegetables you can find at the local chain grocery store, but farmer’s markets also are known for offering more than what you may find in the produce aisle. Take time to explore the market and you may just find foods you typically only find at your favorite restaurant. Exploring also may introduce you to new foods you may otherwise never have tried.

· Consider the timing of your visit. The popularity of farmer’s markets has increased dramatically as more and more people embrace the concept of buying locally grown foods. While that’s great news for the planet and local farmers, shoppers should keep that in mind when planning their visits. If you love trying new foods, arrive early to the farmer’s market before the more unique offerings have been snapped up. Foods that have small yet devoted followings may not be available in abundance, and you may end up leaving empty-handed if you arrive late. If it’s a bargain you want, then visit later in the day when farmers with substantial remaining inventory may be more inclined to lower their prices.

· Know your seasons. Some fruits and vegetables are better at certain times of the year than others. Freshness draws many people to farmer’s markets, and foods that are in-season are more likely to have that unforgettable freshness than those that are out of season or nearing the end of their season. Knowing the seasons is important for budget-conscious shoppers as well. If you’re shopping on a budget, purchasing foods while they’re in-season may save you some money, and you can always stock up on your other favorites later on when it’s their turn to be in-season.

· Speak with the sellers. First-time farmer’s market shoppers may feel like they’re lost in the woods while everyone else seems to know exactly what they want and where to get it. If you find the farmer’s market somewhat intimidating, speak with the sellers. Shopping at the local farmer’s market tends to be more intimate than shopping at the chain grocery store, and many sellers would be happy to offer you some tips and make some suggestions based on the meals you like.

Farmer’s markets are great places to support local businesses and find fresh foods.


TF166169

Gardening Pointers for Novices

People have many reasons for growing gardens, and some of the most popular gardens are plots designated for cultivating herbs and vegetables. Fresh produce at the ready is a great benefit of having a home garden, which also allows homeowners to exercise full control over which products to use to grow robust, healthy vegetables.

g3Novice gardeners may not know where to begin when it comes to planting their first vegetable gardens, and such gardeners can benefit by starting small. You may want to begin by growing plants in containers so they are more manageable and can be moved as you discover which areas of your property provide the best growing conditions.

Begin with one or two types of vegetables. Tomatoes, cucumbers and certain squashes are popular starter plants, as they are relatively hardy. Select only a few plants so you are not overwhelmed with the level of care required to maintain your garden.

Some gardeners prefer to start plants from seeds, but this will require more time and a greater commitment with regard to maintenance and planting. When just starting out, experiment with small plants that are established and already have a good root system.g2

Consult with your local gardening center for more suggestions, such as which soil amendments to use. Plants may require a certain soil pH that can be adjusted for optimal plant growth. EL156274

Break Ground with the Right Tools

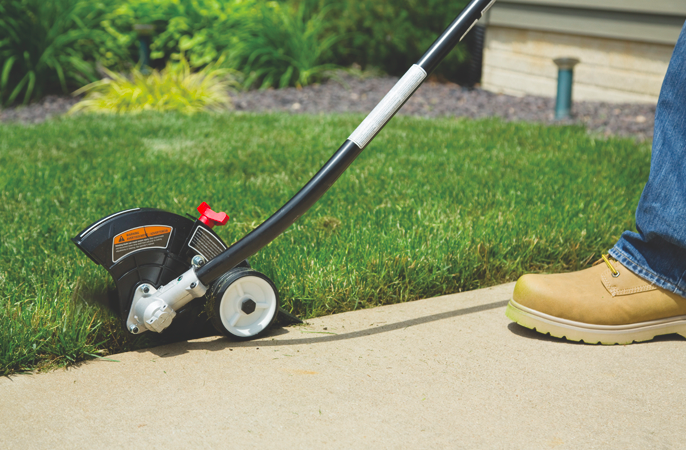
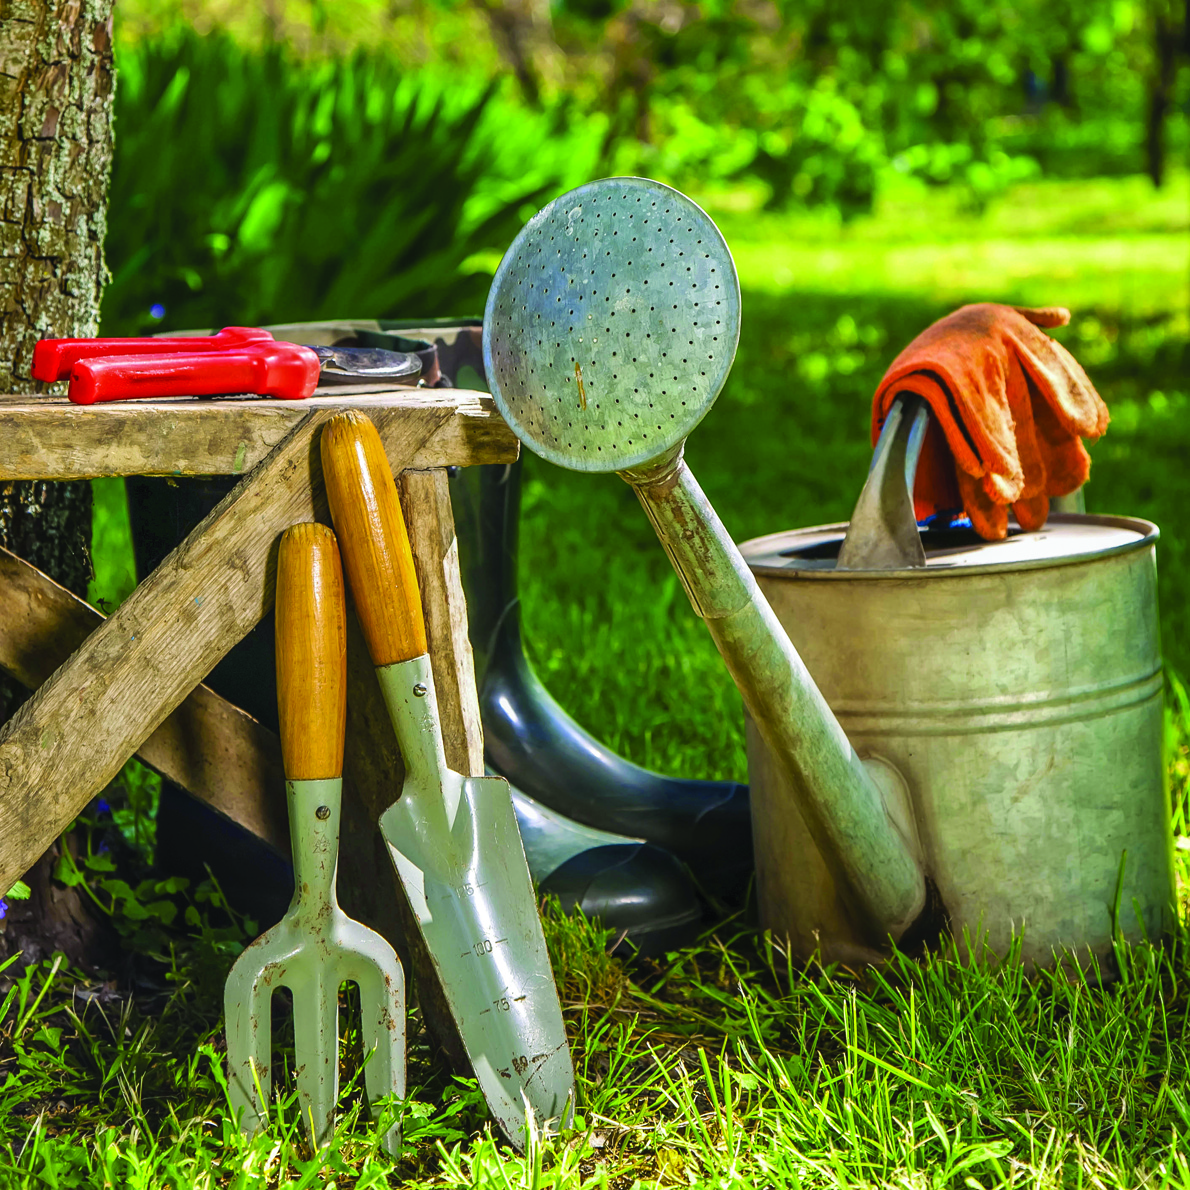
The right tools for the job can be the difference between an interminable landscaping project and one that goes smoothly and efficiently. Aspiring landscapers probably have a few shovels and rakes hanging in their garages and sheds for basic landscaping work. But while such tools are effective for certain projects, when it comes to churning soil for garden beds or digging holes for outdoor structures, additional tools come in handy. It may be well worth a trip to a nearby home center to purchase or rent one of these tools ideal for breaking ground.

Rototiller

A rototiller, sometimes called just a “tiller,” is a powered garden tool designed to loosen soil prior to planting. A rototiller also can help aerate soil during the growing season. Because they reduce the need for manual spade digging or hoeing, tillers can be useful landscaping tools, particularly for homeowners who want to work efficiently.

Rototillers will break through tough soil and any plant roots. They come in a variety of sizes, and it’s best to match the tool to the size of the job. Many homeowners can get by with smaller, less powerful models, especially if the tiller is only necessary at the beginning of planting season. Professional landscapers or those with large swatches of property may benefit from larger models.

Auger

Augers, both mechanical and manual, are essentially large drill bits that help move materials from one location to another. Augers are typically used to cut holes in landscapes, and they are good for post-hole drilling, which is part of the process of installing deck footings, fencing posts or other structures. Augers come in a variety of sizes, and homeowners can choose how much power they prefer. Augers can be heavy and cumbersome, and many do-it-yourselfers will find that one-person augers are more than adequate for their projects.

Augers dig deep holes, so it is always smart to have the property surveyed prior to use. This way pipes, gas lines, buried electrical lines, and any other obstructions are clearly identified prior to drilling.

Cultivatorshovel1

Cultivators are similar to tillers in that they loosen soil. Cultivators are effective during the growth period of plants, when they can be used to aerate the soil and remove weeds. Cultivators come in hand-held versions and push models, and some are even motorized. Cultivators get close to plants to remove weeds without disturbing the plant. They also are used to stir in compost or fertilizer.

While many people think cultivators and tillers are the same, that is not the case. The former is less powerful and will mix the soil or stir up the top layer, while the latter can break up moderately hard ground and loosen firm soil.

When using any tools around the garden, wear the proper protection. This includes devices to protect hearing when power tools are in use as well as gloves and safety goggles. Tillers, augers and cultivators have the potential to toss soil and rocks into the air, so make sure others keep their distance while work is in progress.


GT154047

Additives for Healthy Soil

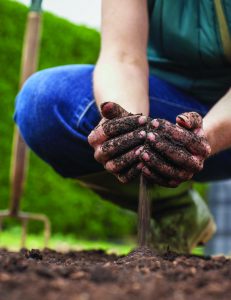
dirt1Mother Nature provides plenty to grow healthy lawns, gardens and landscapes. But as many homeowners know, some lawns sometimes need a little extra boost to complement nature. Soil sometimes must be amended so plants can thrive. Only after the right composition is created can plants take root and perform to the best of their abilities.

The Colorado State University Extension defines a soil amendment as any material added to soil to improve its physical properties. The goal is to provide a better environment for roots. Depending on what you are starting with, any number of ingredients must be added to the soil recipe. Water retention, permeability, drainage, aeration, nutrients, and water infiltration are some of the things amendments can improve when added to soil.

Before homeowners add anything to the soil in their yards, it is first important to determine what that soil needs. Homeowners may notice if soil is overly sandy or full of clay, but further testing can confirm what the soil is lacking. Soil tests are often available through local cooperative extension offices or private laboratories. Speak with a nursery or garden center about where you can get your soil tested. A comprehensive test may cost between $5 and $10 and can provide invaluable information that saves you hundreds of dollars in wasted plants and materials, not to mention effort. Some labs also can tailor their recommendations based on the type of planting you will be doing. For example, a vegetable garden may need different amendments than a row of azalea bushes.

Organic matter is a preferred soil amendment used by professional and novice gardeners alike. The decaying remains of plants release nutrients that are absorbed into the soil and used by microorganisms and bacteria, creating a healthy environment for plants. Organic material may break up compacted soil to increase drainage. In sandy soil, organic material serves as a sponge to keep water from washing away. Compost and manure are two examples of frequently used organic materials. Both of these materials are readily available at little cost.dirt3

Compost can be produced at home from food and plant scraps. Raked leaves and small amounts of grass clippings can be added to compost. Over time, the decomposition process will turn scraps into a nutrient-rich, dark brown substance that provides many plants with all they need to thrive. Compost is particularly useful in vegetable gardens.

Manure should come from herbivores, or those animals that sustain themselves on grass and other plants. Carnivores can produce harmful bacteria in their waste, which is not safe to use in gardens, particularly food-bearing gardens. Manure can be commercially purchased, or avid gardeners can work out arrangements with nearby livestock owners and farms. These people may be more than willing to give you manure for little to no cost if you cart it away. Dried manure is preferred because it will have minimal odor.

Additional forms of organic amendments include wood ash, sphagnum peat, wood chips, sawdust, and worm droppings.

Inorganic amendments also may be used, and are usually relied on to improve water retention and drainage. Vermiculite, perlite, pea gravel, and sand are examples of inorganic amendments. A combination of organic and inorganic amendments can create the perfect mix for your needs.

Soil amendments typically are added to new and unplanted beds. Peat moss and shredded bark take years to decompose and will serve as long-term amendments in the soil. Compost breaks down quickly and may need to be worked in more frequently.

Experts recommend spreading amendments on the planting bed and then using a rake or tiller to work it in to a depth of about nine inches. Particularly sandy soil or soil with a lot of clay may need more amendments.

Permanent plants, such as trees or shrubs, also can benefit from the extra nutrient boost amendments provide. Sometimes it is sufficient to spread the material over the soil surface and let rainwater and wildlife help distribute it to the plant roots. Otherwise, work it into the top inch or two of the dirt with a hand cultivator.

Soil amendments can be the difference between a thriving garden and healthy landscape and one that has seen better days. GT154054