Tag: home care

Tips to Nail the Latest Home Design Trend

Redecorating? Experts say to keep in mind that the days of matching metals used for lighting, cabinet hardware and plumbing are over. Today’s rule: mix it up! When done right, combining colors adds visual interest and depth to a space.

“Mixing metals makes a statement in a room,” says Jennifer Kis, director of marketing communications for Progress Lighting. “It’s not considered unusual anymore, and our customers are comfortable with it and confident about trying it in their homes.”

There’s a simple recipe for success: pick a dominant metal finish for the room and coordinate it with accent metals. Try for a 70/30 ratio.

To easily nail the look, consider starting with a significant fixture that’s already finished in a mixed metal combination. For example, the lighting fixtures from Progress Lighting come finished in mixed metal combinations, such as matte black accented with gold, polished chrome with brushed brass, and even white accented with brushed nickel plus a touch of blue. Then, match cabinet hardware, appliances, plumbing fixtures and accessories to one of the finish colors from the lighting fixture.

When selecting finishes, use contrasting tones. Warm metals such as brushed brass, antique bronze, and gold give a vibrant pop of color when mixed with cool metals like chrome, nickel and silver. And don’t forget black — it is one of the trendiest finishes on the market today, and mixes beautifully with most metal colors.

Take the room’s color palette into consideration. Combine warm metal finishes (like brass, bronze, and copper) with warm hues (like beiges and browns). Use cool metal finishes (such as chrome, nickel and silver) with cool tones (such as blues, greens and grays). For a neutral color palette, add metallic accents to achieve warmth, texture and color. With a white or gray color scheme, for example, add a stunning gold chandelier to make your room come to life.

Kitchens typically contain the most metal in the house, and there are many ways to harmonize elements. Try placing mixed metal pendant lighting over the kitchen island, then match an accent metal finish from the fixture to coordinate with the cabinet and plumbing hardware. For a consistent look, pair finishes on metals that appear within the same line of sight: for example, the sink faucet and cabinet hardware should match.

In bathrooms, blend lighting choices with metallic accessories like a metal-edged mirror, soap dispensers and wall hangings, for seamless style. Lighting finishes don’t have to match hardware, but remember to choose complementary, contrasting metal tones.

Larger spaces, like living and family rooms, are ideal for mixing metal accents. As one of the most significant accessories in the room, start with your lighting fixture. Then add decorative elements — mirrors, wall art, tables — in contrasting metallic tones to make a dramatic statement.

In the bedroom, overhead lighting is often a prominent feature. Choose either a mixed metal fixture or one with a dominant finish color, then select subtle metallic touches for table lamps, sconces, furniture and wall décor to provide a cohesive flow.

For design resources, visit bit.ly/ShopMixedMetals.

Today, metals are meant to be mixed. Keep in mind the 70/30 rule for the perfect mixed, but not mismatched, look.

How to Streamline Household Cleaning

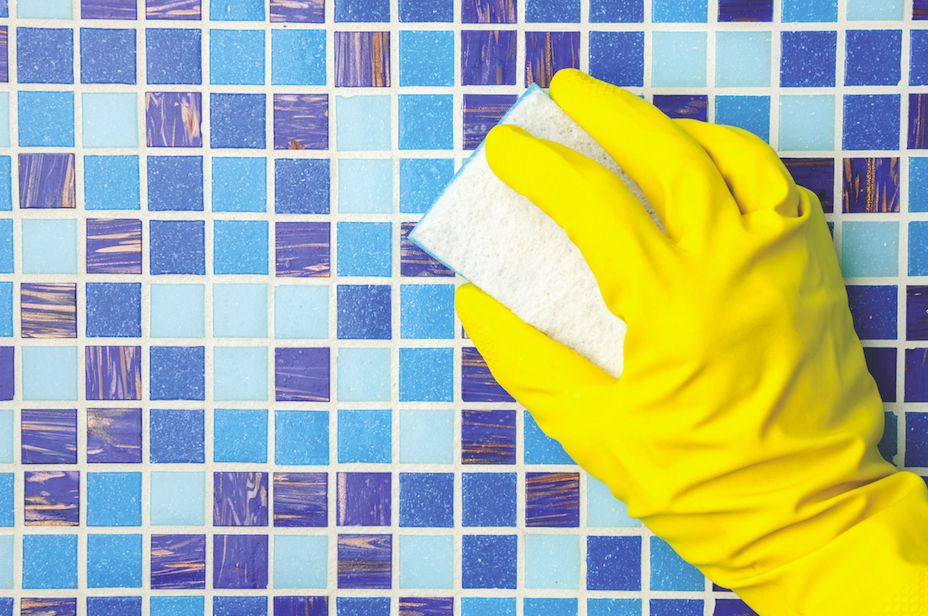
Travel down the cleaning aisle of a neighborhood store and you will be met with product after product designed for specialized cleaning. There are sprays for windows, cleansers for electronics, carpet-cleaning foams, and scouring solutions for tubs and showers. Although many of these are effective, the average person can rely on just one cleaning aid for a wide variety of tasks: vinegar.

Vinegar is a versatile product that can be used in everything from cooking to pickling to preserving foods to household cleaning. Vinegar is made by two distinct biological processes, offers The Vinegar Institute. Via fermentation, yeast will first change the natural sugars in the vinegar-to-be material solution into alcohol. The second process involves a group of bacteria called “acetobacter,” which convert the alcohol into an acid.

Vinegar can be made from any fruit or natural material containing sugar. For the purpose of generalized cleaning, white vinegar is the most common type used and is typically made from corn.Utilizing vinegar around the house is quite simple, and can be used in various ways around the house.

· Remove lime buildup. Vinegar is good for cleaning faucets and showerheads. Make a paste of one teaspoon of vinegar and two tablespoons of salt. Apply to sink fixtures and rub with a cloth. Fill a plastic baggie with vinegar and attach to the showerhead with a rubber band. Let sit a few hours to overnight and then rinse away the mineral deposits.

· Brighten laundry. Add 1/2 cup white vinegar to the wash cycle. It will help loosen stains and brighten clothing. An added benefit is the acid will reduce static cling.

· Disinfect cutting boards. Give cutting boards an extra cleaning by spraying them with straight vinegar, then rinsing to clean.

· Clean the disposal. Make sure food residue doesn’t clog garbage disposals and lead to odor. Mix vinegar and baking soda in the drain and allow the bubbling action to remove built-up residue. Use a scrub brush for extra scouring.

· Get streak-free windows. Mix a 50-50 solution of vinegar and water in a spray bottle. Use to clean windows and other glass surfaces. Wipe away with a microfiber cleaning cloth so no lint is left behind.

· Eradicate pet odor. Pour a little bit of vinegar into an empty litter box. Let stand for around 20 minutes, then rinse with cold water. Vinegar also can be used to blot up pet stains on the carpet. Just test color-fastness in an inconspicuous area first.

· Banish water stains. Fix water stains and rings on wood furniture by mixing equal parts vinegar and olive oil. Use a soft cleaning cloth moving in the direction of the wood grain. Polish using a clean cloth.

Vinegar can be used all around the house – these were just a few of the dozens of ways to rely on vinegar. Just steer clear of using it on natural stone and marble, as the acid could cause damage.

Caring for a Freshly Sodded Yard

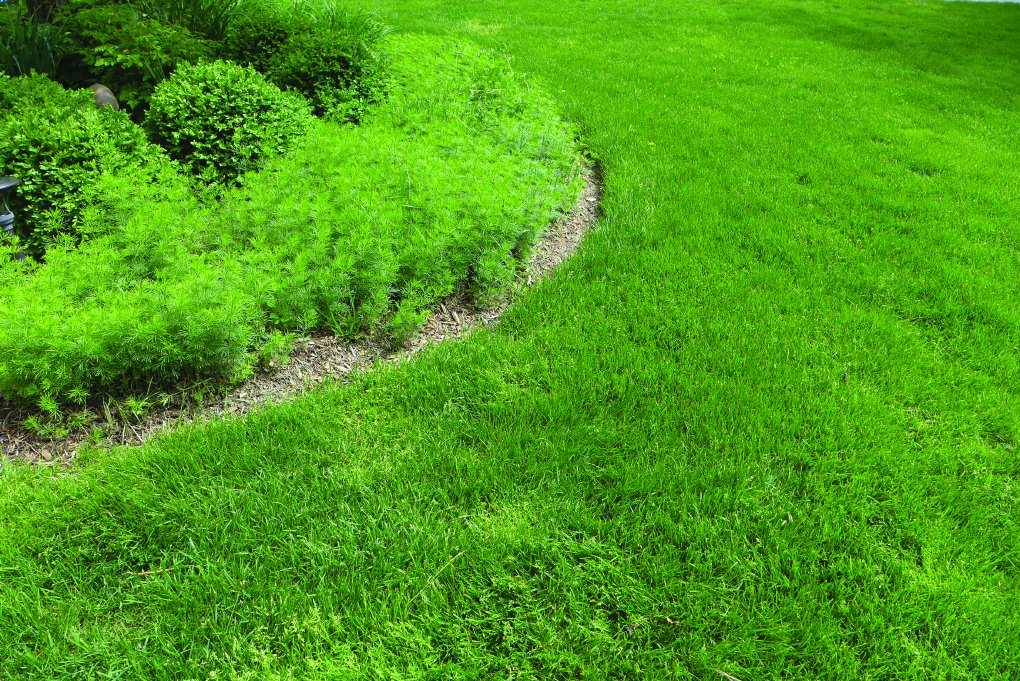
Sod, sometimes called turf, can quickly turn a barren landscape into a rich, thick carpet of green. Homeowners hoping to revive their lawns commonly turn to sod as the quickest means to do just that. However, once the sod has been laid down, few homeowners may know how to keep it looking its best.

green2Sod is real grass that is grown on special farms. It is generally grown locally to avoid long transport times that could dry out the product. Sod is typically sold in squares or rolls of grass that come with the roots and soil already attached. There may be some sort of thin backing material on the sod to keep the grass blades together.

Many homeowners turn to sod when growing lawn from seed becomes problematic or too time-consuming. Seeds can be blown around in the wind or be eaten by birds and other animals before they have a chance to germinate.

Sodding a lawn is a major investment, costing as much as $1 per two-foot square. Depending on the size of your lawn, this can be a costly job even before adding the cost of additional supplies, such as soil, fertilizer and tilling equipment. Many homeowners who install sod want to ensure their investment lasts. Here are the main ways to care for and protect sod until it is fully established.


Automatic sprinkler
Automatic sprinkler

* Once the sod has been laid down, the lawn should be thoroughly soaked with water. Most experts recommend soaking it to a depth of 6 inches.

* It is important to establish a watering schedule to keep the sod moist. Water the sod to a depth of one inch every other day for the first three weeks to enable the roots to securely establish themselves in the soil.

* Water the sod every other day unless the weather has been very warm. After four weeks you can generally go up to five days without watering as long as you transition slowly. The sod will change colors if it is not getting enough water. Never let the lawnturn yellow, otherwise you may have to cut out dead spots and re-sod.

* Wait two to four weeks before mowing the sod. Keep the lawnheight to around two inches to ensure that it won’t scald in the sun.

* After two months of established sod growth, aerate the sod to keep the soil from being too compact and to enable oxygen and nutrients to get into the soil.

* Keep children and pets off of the sod while it is establishing itself.

* Fertilize the lawn every 50 to 60 days, beginning in March and ending in October.

* Inspect the sod for pests, which may include insects or problems like fungi or weeds. Treat accordingly with products designed to remove pests.

Using sod to establish a lush lawn is a fast, albeit more expensive option to sowing seeds. After a few weeks the lawn will be thick and secure.


GT134007

Hospice FAQ & Local Links

*Hospice of Washington Co. Inc. – “Hospice of Washington County, Inc. is committed to serving our community by empowering patients and families to provide quality end-of-life care and grief support for those coping with a life-changing loss.”

*Lutheran Home Care & Hospice –  Lutheran Home Care & Hospice, Inc. is a not-for-profit, faith-based provider of home health care, home health telemonitoring, hospice, in-home support and grief support services throughout south central and northeastern Pennsylvania and northern Maryland.”


Sometimes patients succumb to a disease, in spite of the best treatments and support. When the time comes for a family to confront a loved one’s declining health, hospice care can be a dignified way to make that person’s final days as comforting as possible.

Hospice is a type of care designed to make the final moments of a person’s life as pain-free and manageable as possible. It can take place in a medical facility, but very often hospice care occurs at home or wherever the ill person feels most comfortable.

Hospice care is usually the last step when all other options have been exhausted. Making the decision to move a loved one tohospice care can be an emotionally wrenching time. Decisions such as these may be better made at a time in a person’s life when he or she is not sick. That is why living wills that spell out details for end-of-life care can be quite valuable. Decisions are made with a level head and not wrought with emotions. Such living wills also can take the pressure off of family members who may not feel comfortable making such decisions on their own or in concert with relatives.

whitelilyHospice is a type of care and a philosophy that focuses on the palliative care of terminally ill patients. Rather than providing medication to try to treat the illness, medicine is offered to make a person more comfortable and remove any pain. Psychological therapy may also be offered to help the person come to terms with the end of life. Although hospice is a concept that has gradually evolved since the 11th century, the principles of modern hospicecare can trace their roots to the 1950s and Dame Cicely Saunders, a nurse and social worker who is known as the creator of thehospice movement.

If hospice care is outlined in a dying person’s living will or expressed wishes, there are some guidelines that can be followed by the sick individual.

* Visit various medical care centers to see if away-from-home options provide the care and environment you desire. If Be sure to establish what type of hospice care you prefer. This may include care within a nursing home or hospital, or in the comfort of your own home.

* Sign a medical durable power of attorney. This signed document gives authority to an adult age 18 or older, who then has the right to make necessary medical and healthcare decisions for you in the event you become incapacitated.

* Clearly indicate your wishes regarding resuscitation. A signed document may alert emergency healthcare personnel or others of your wishes not to be resuscitated. This document must be signed by you and a doctor and witnessed by others.

* Decide on the duration of care. Hospice care generally lasts six months. This enables a long stretch of palliative care. Should you live beyond the time period, hospice care can continue. Studies have shown that patients who receive hospice care for at least 30 to 60 days gain greater benefit than those who are placed inhospice only in their final days.

* Investigate financial options for hospice. Medicare and Medicaid provide hospice coverage in 44 states. Many private insurance plans have a hospice benefit as well. Understand how payment is made to figure out if private funding will be necessary.

Not all hospice programs are the same. Certain core models of care are followed by many hospice facilities, but options vary. Hospice can provide comfort in a person’s final days and help sufferers.


Top 5 Indoor Plants

Winter is when we often spend a lot more time indoors, so it’s important to keep your home fresh and cozy! Air quality is one aspect of our home interior that can often get overlooked but has a big impact on our overall health and well being. One step you can take towards clearing the air in your home, is to introduce at least one plant from of our top 5 recommended indoor plants – proven to have improve your air quality!

When it comes to plants, I don’t necessarily have a green thumb. That’s why I opt for easy care, low maintenance. Not only is it nice to bring a little bit of the outdoors – inside – but the added health benefits of cleaner air is an obvious bonus! 🙂 The list I’ve compiled includes plants that are both easy to care for as well as improve home air quality.

*Aloe Vera

->Sun loving plant, besides air filtration, this plant also offers a soothing gel inside its leaves that can help soothe cuts and burns

*Spider Plant

->Low maintenance, very easy care; Lots of foliage and occasional tiny white blooms

*Snake Plant

->Low light, humid environments; Widely known for air filtration benefits

*Bamboo Palm

->Thrives in shade; Produces small flowers and berries

*Peace Lily

-> A top indoor plant on N.A.S.A.’s report for removing common VOC’s; Prefers shade

N.A.S.A. first compiled a list of “Interior Landscape Plants for Indoor Air Pollution Abatement” back in 1989. You can still view the original report thru their site at: http://ntrs.nasa.gov/archive/nasa/casi.ntrs.nasa.gov/19930073077.pdf


Do you have a green thumb or an indoor gardening tip to share? Leave a Comment below