Tag: pumpkin carving

Learn How to Carve a Better Pumpkin

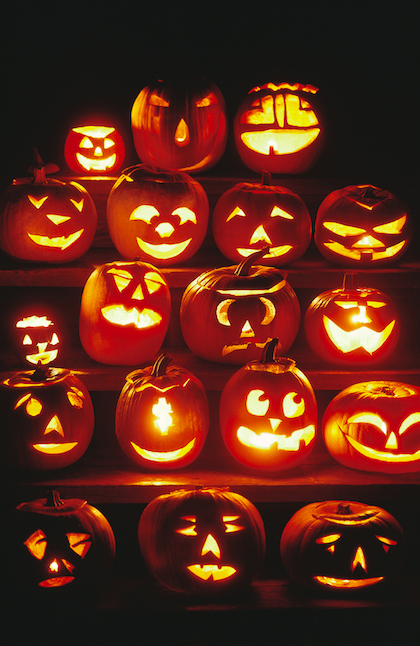
Toothy grins and a mesmerizing orange glow help make jack-o’-lanterns captivating sights come Halloween. Pumpkin carving is an autumn tradition and runs the gamut of simple designs to more intricate artwork worthy of any medium. Although anyone can grab a pumpkin and get started, when done correctly, jack-o’-lantern designs can last for several days.
• Start with a fresh pumpkin. Look for pumpkins that have a thick, green stem. These usually are fresh and haven’t been handled much. A thick stem also may indicate fleshier pumpkin walls that can be carved more easily. Avoid pumpkins that are soft or full of blemishes, or those that have dried, shriveled stems.

• Cut a hole in the back. Rather than impeding the structural integrity of the pumpkin by cutting off the top and the stem for interior access, cut a hole in the back of the pumpkin. This will still make it easy to reach inside and clean out the pumpkin.

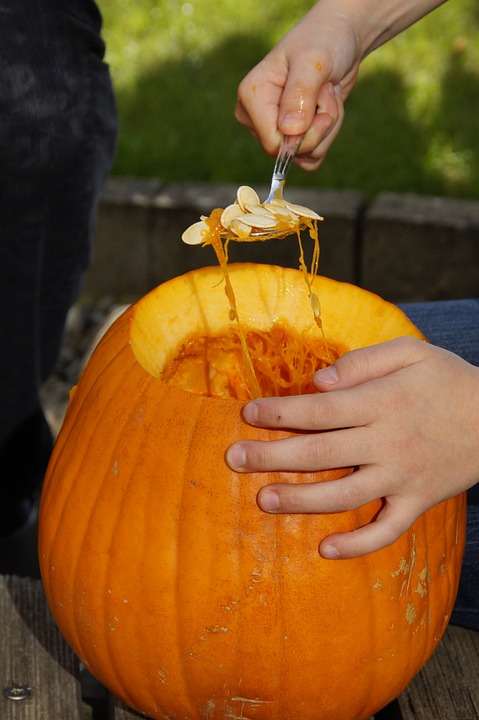
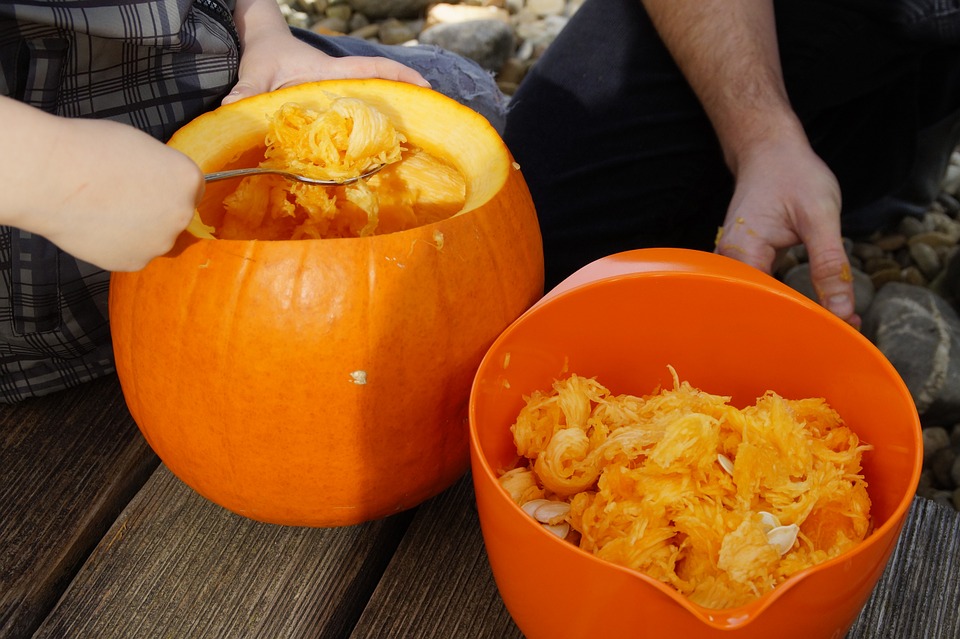
• Scoop out the pulp and seeds. Be sure to thoroughly clean the inside of the pumpkin. Leaving the pulpy, stringy matter and seeds inside can cause the pumpkin to rot that much faster and produce a foul odor. Scoopers, spoons and even hand shovels can help.

• Keep it cool. Heat can adversely affect carved pumpkins, so work in a cool area and store the pumpkin in a cold garage or refrigerator if you need a few extra days before displaying it. Also, carving experts suggest using an electric light inside rather than a candle; by using a candle, you’re essentially cooking the pumpkin from the inside.

• Work in your lap. When carving faces or intricate designs, looking down onto the pumpkin provides more control.

• Don’t cut all the way through. Many pumpkin designers end up shaving or scraping off the outer rind of the pumpkin, but leave a delicate orange film underneath. Light can still shine through, but the design will not collapse on itself as easily if you were to cut straight through the pumpkin wall. Experiment with different tools to achieve the desired look.

• Maintain the freshness. Rubbing exposed areas of the pumpkin flesh with petroleum jelly may help keep the pumpkin moist. Some designs will last for a few days. However, since pumpkins are highly perishable, it’s wise to wait to carve until a day or two before putting a pumpkin on display.

Various Ways You Can Put Pumpkins to Use

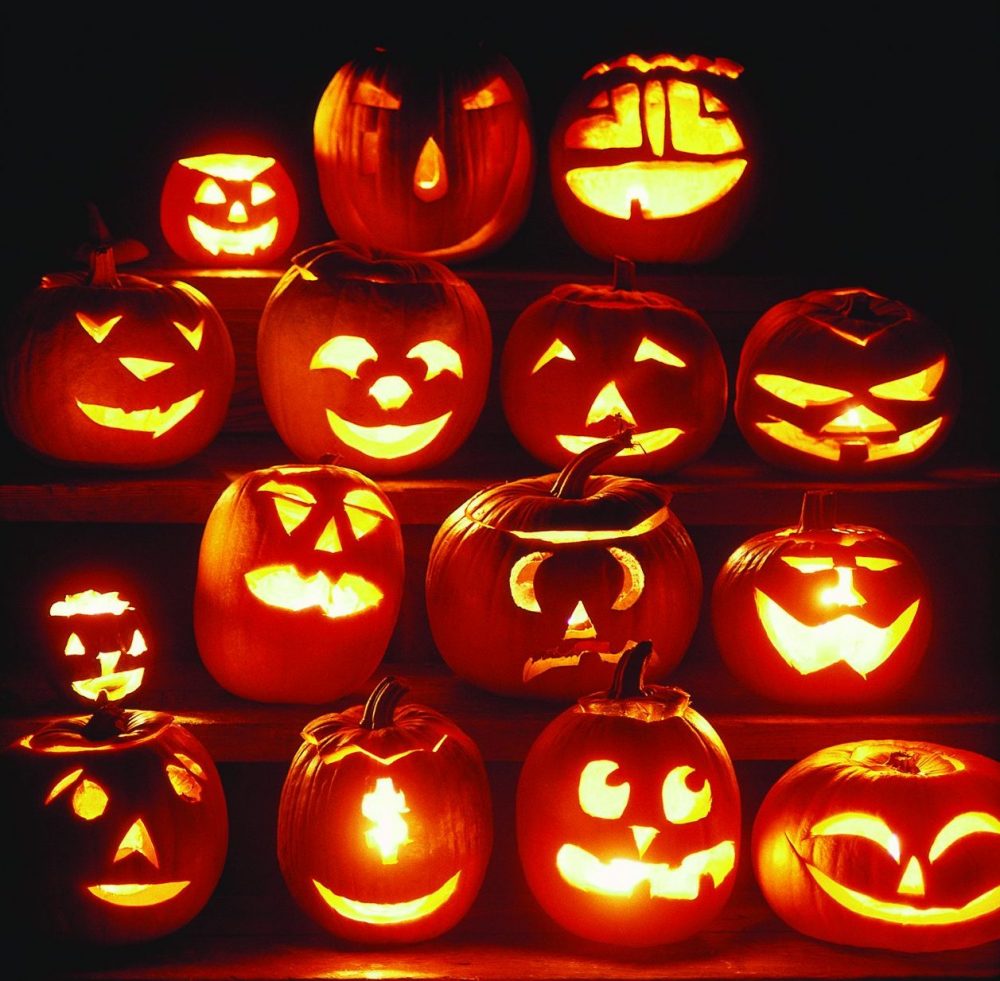
Few items signal the fall harvest season more than the bright, orange pumpkins that dot fields and liven up displays outside of homes and businesses. Come fall, many pumpkins are turned into grinning jack-o-lanterns just in time for Halloween. But there are many other uses for pumpkins as well.

Pumpkins are believed to have originated in North America. Early Native Americans relied on pumpkins as a source of food that helped them survive long winters. Pumpkins could be roasted, baked, boiled, and dried, and they were eaten and used as medicine. Pumpkin blossoms were added to stews. The shells of the pumpkins could be dried and used as eating and storage vessels.

While pumpkins may now be symbolic of Halloween, the following are a handful of additional ways this versatile fruit can be put to use.

Beauty regimen

Pumpkins contain a number of essential vitamins and minerals that can help replenish the skin. Pumpkin purée can be mixed with honey, aloe vera gel, olive oil, and a bit of cornmeal to create an exfoliating mask for the face or body. Pumpkin also can be used to rejuvenate dry or tired skin from cold weather.

Honey, pumpkin and yogurt can be mixed together and used to condition hair. Let the mixture sit for 15 to 20 minutes, and then wash it out and shampoo.

Foods and beverages

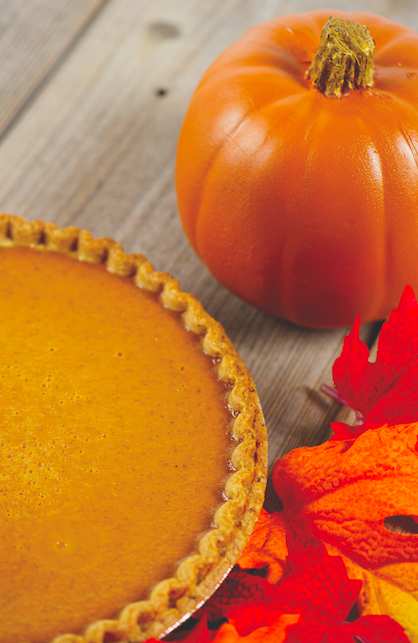
Pumpkin purée is the basis for many tasty, pumpkin-infused treats. Purée can be used in pies, cakes, muffins, breads, and many additional foods. Pumpkin purée also may be found in certain beverages, such as smoothies and shakes. A bit of spiced purée may appear as flavoring in teas and coffees.

Roasted pumpkin seeds make a healthy treat. Foodies suggest using the seeds from “sugar pumpkins” or the ones best for making pies. Boil the seeds for a few minutes before draining. Spray a baking sheet with non-stick spray and put the seeds in a single layer. Bake at 400 F for 20 minutes. Allow to cool and serve.

Pumpkin wines and beers are popular as well. There are many recipes for developing sweet, fermented beverages, which tend to be especially popular in the fall.

The “guts” of the pumpkin can be simmered along with aromatics and other vegetables to create a vegetable stock perfect for soups and broths.

Decorations

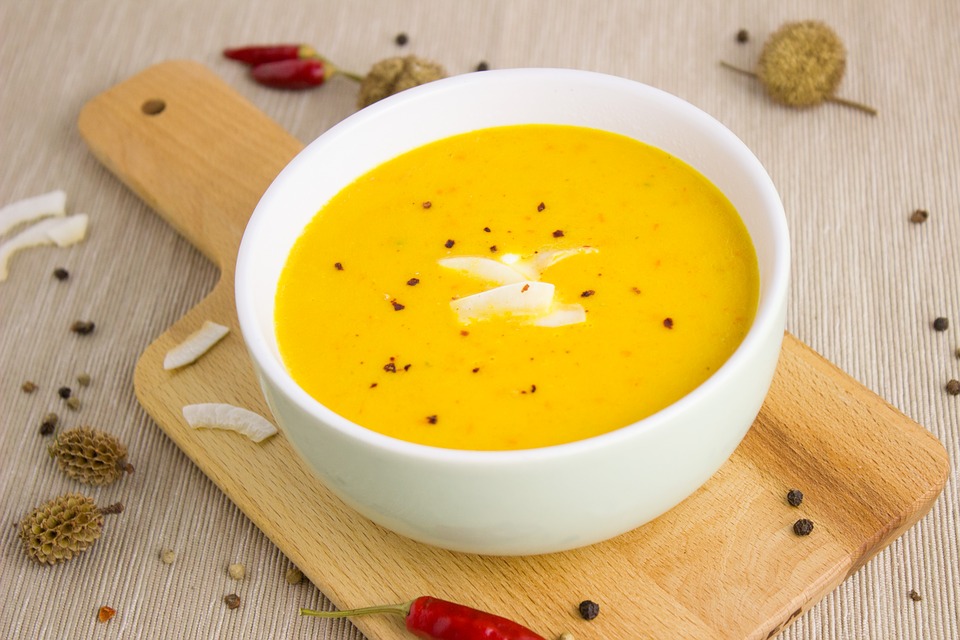
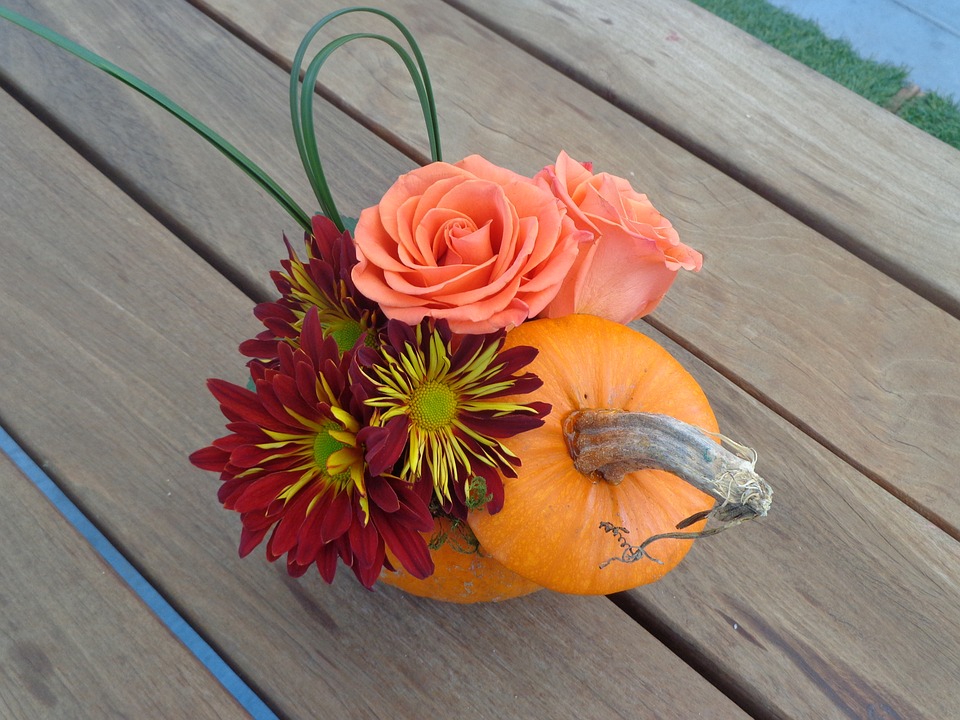
Pumpkins can also add to one’s home décor during the fall. Pumpkins can be carved for Halloween displays, hollowed-out to hold tealights or simply left on tables and used as centerpieces. Larger pumpkins may be used as natural flower pots for mums or other seasonal floral displays. As the Native Americans once did, pumpkins can be hollowed-out and used as bowls to serve favorite soups and dips.

Use a hollowed, small pumpkin as a natural aromatic candle holder. Cut holes in the sides to vent the exhaust. Rub aromatic spices, such as cloves, nutmeg, allspice, cinnamon, and vanilla bean, on the inside of the pumpkin. Insert a beeswax candle in the bottom of the pumpkin and let it send inviting aromas into the air.

Pumpkins are a versatile fruit that can serve many purposes beyond just jack-o-lanterns and pies.

Halloween Pumpkin-Carving Pointers

Transforming pumpkins into cleverly carved creations is a Halloween tradition. Each October, glowing pumpkins take up residence near doorsteps and porches, adding to the magical ambiance of the season. Young and old spend time designing their themes and then taking knife to pumpkin to achieve the desired effects.

Carving pumpkins into jack-o’-lanterns can be traced back centuries to Ireland and a story about “Stingy Jack.” The tale involves Jack outwitting the Devil twice, the second time freeing the Devil from a prank in exchange for the promise that he would not claim Jack’s soul should Jack die. When Jack did die, God did not want the unsavory character in heaven, but the Devil could not claim Jack for hell. Therefore, Jack was relegated to roam the planet indefinitely with only a burning coal to light his way. Jack put that coal into a carved-out turnip. His ghostly figure was referred to as “Jack of the Lantern.” Later on it was shortened to “Jack O’Lantern.” When Irish immigrants arrived in North America, turnips weren’t plentiful, so jack-o’-lanterns were instead carved into pumpkins.

Today, many people carve jack-o’-lanterns, with some featuring just smiling or grimacing faces while others are far more artistic creations. These tips can help anyone carve a pumpkin.

· Begin with a fresh pumpkin. Look for a pumpkin with a green stem. If the pumpkin has been sitting around for too long or has been handled too much, the stem can get brittle and/or fall off. A thick, fresh pumpkin is best for carving.
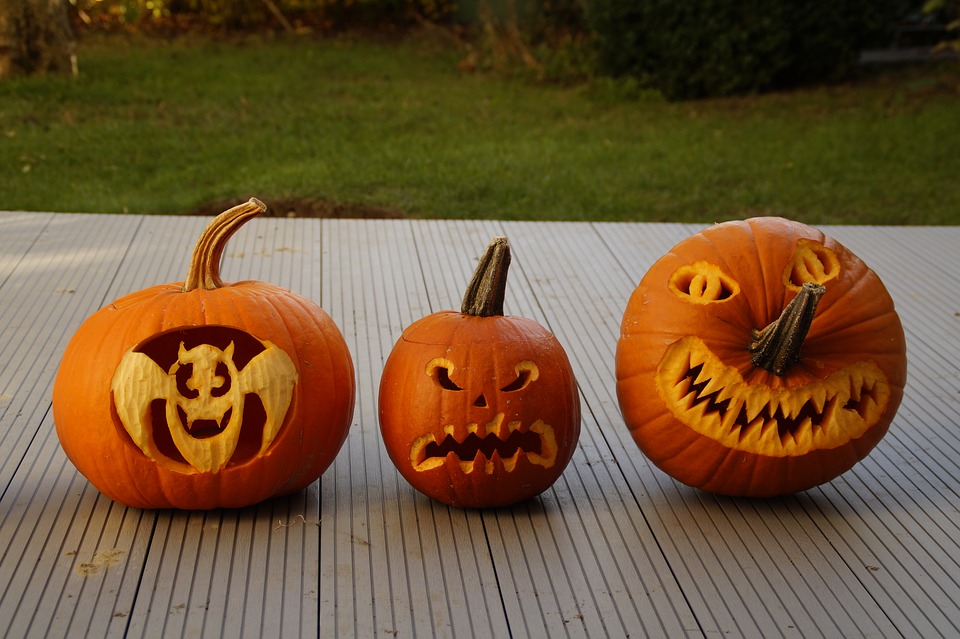
· Plan your ideas. Draw a plan for your pumpkin before you make your first cut. Then transfer that design to the pumpkin with pen or a thin marker. Pumpkin-carving kits come with designs that can be “traced” by poking small holes to create the outline of the design.

· Don’t cut all the way through. Many professional pumpkin artists do not actually cut clear through the flesh of the pumpkin. They carve and shave off layers of the outer rind until it becomes more translucent. The level of transparency can be adjusted based on how much skin is removed and as a way to add texture and shadowing. The more air that is allowed to penetrate the pumpkin, the faster it will start to degrade.

· Delay carving until the last minute. Wait until the day before Halloween to begin carving. Pumpkins are a perishable item, and they’ll begin to rot as soon as you begin carving. Spritzing them with water can help them stay fresh, but there’s no turning back the clock once the first cut is made.

· Cut a hole in the back. According to Brooklyn-based Maniac Pumpkin Carvers, cutting off the top of the pumpkin can affect its structural integrity and cause it to rot faster. Instead, cut a hole in the back of the pumpkin and use an electric light to illuminate it. LEDs are advisable because they don’t generate much heat, which can cook and rot the pumpkin from the inside out.

With some creativity and a little know-how, anyone can create an eye-catching jack-o’-lantern.
 
My Franklin Shopper App

Preserve Carved Pumpkins in Various Ways

Jack-o’-lanterns and other carved pumpkin designs are frequently the centerpieces of Halloween festivities. The twinkling lights and orange glow of jack-o’-lanterns can add ambiance to any autumn event. The trouble with carving pumpkins is that most people want to do it right away, only to discover their pumpkins wilt and decay long before Halloween.
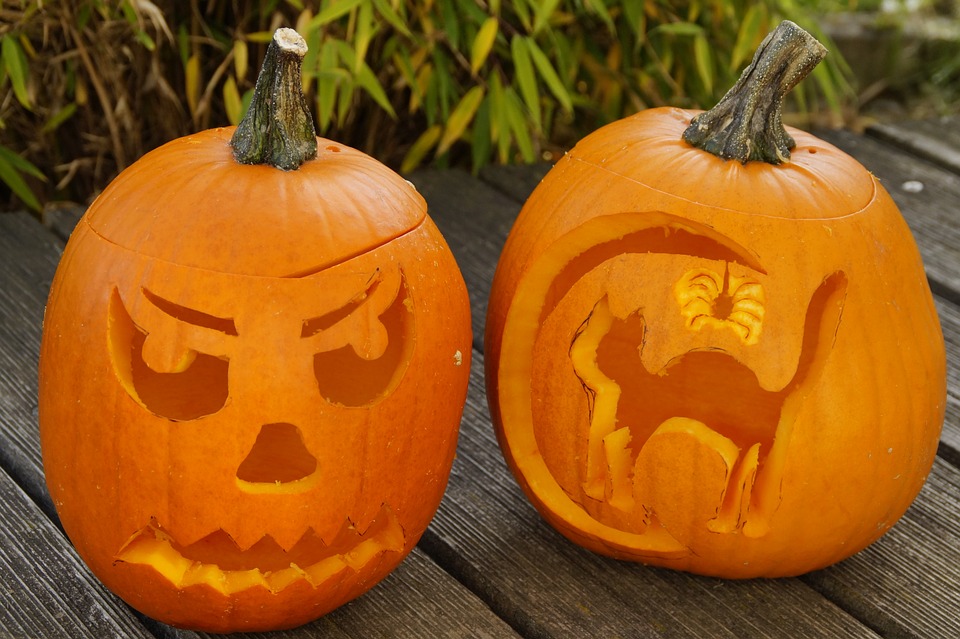
Nothing ruins Halloween more than visiting a home to trick-or-treat and not getting candy. Equally disappointing is a sad pumpkin display withering away on a front porch. Even though all pumpkins will eventually rot, certain tips can keep carvings from collapsing too soon.

· Choose a sturdy pumpkin. Inspect the pumpkin of your choosing carefully, looking for gouges, spots and holes. Even a small blemish can quickly expand into a mushy mess. Select pumpkins with even color and firm flesh, and make sure that the pumpkin doesn’t feel tender when you push on the skin.

· Visit local pumpkin stands. Pumpkins that have been shipped miles and miles in hot cargo trucks may be overly ripened or battered. Pumpkins that were grown nearby may be fresher. Plus, buying pumpkins locally supports local farmers.

· Scrape the insides of the pumpkin thoroughly. Any moist bits inside the pumpkin will mold quickly. The pumpkin carving experts at Pumpkin Masters recommend scraping as much of the “guts” out as possible, leaving about a one-inch thickness of the wall of the pumpkin.

· Coat the pumpkin. Preservation methods may aim to keep the pumpkin hydrated and inhibit mold and other microbial growth. Commercially sold pumpkin preservation products, such as Pumpkin Fresh®, hold up well. Soaking and spraying carved pumpkins with a bleach-and-water solution also seems to preserve designs.

· Keep it out of the elements. Store carved pumpkins in a cool, dry place. This will help slow down the rotting process for pumpkins exposed to outdoor fungi, other microbes and warm sunlight.

· Use an artificial light source. Reduce the heat inside of the pumpkin and encourage hydration by selecting a battery-powered light instead of a lit candle to illuminate the carving.

· Skip the carving. Once pumpkin skin is compromised, microbes can enter. In lieu of carving, paint or decorate pumpkins in other ways if you want them to stay fresh for a long time. Glow in the dark paint can help pumpkins stand out at night.

Carved pumpkins may last a week or two, while uncut pumpkins can last for a month or more. Keeping pumpkins hydrated and mold-free will prolong your designs.